TW 800 B: Rescued from Ruin and Now Running!

The Marklin TW 800 locomotive is certainly one of the more peculiar locomotives from Marklin. The model, based on the German DRG Class SVT 877, was also produced in O Gauge (even as a 3-piece model) under model numbers like the 20V electric TW 66 12940 and the TW 970 in clockwork. In a previous article on the TW 800, we explored the different versions and variations from Marklin. In this article we’ll dive deep into the daunting restoration of one of these models.
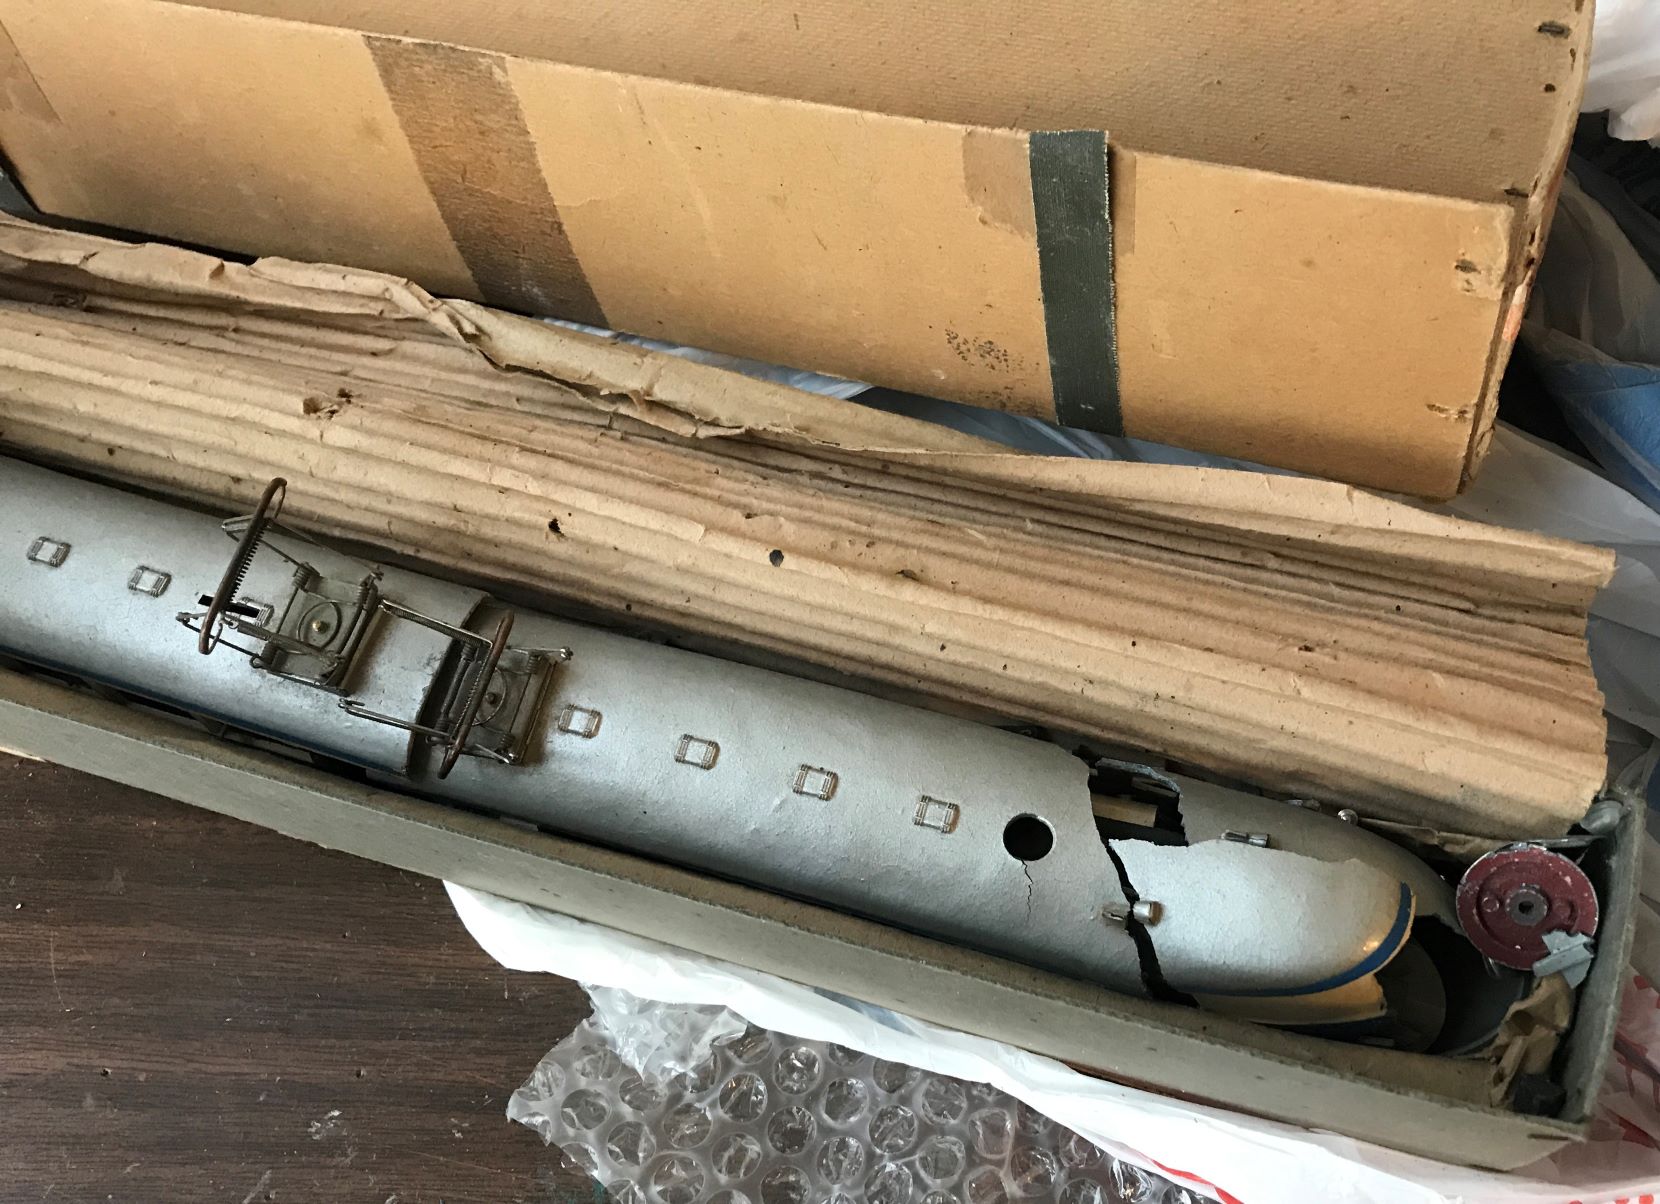
The particular locomotive we’ll be covering in this article is the TW 800 B (for Blau, or blue in German) that was discovered in the original box with even with the corrugated wrapper! The locomotive was found with several other locomotives from the 1948-1950 period including an early CCS 800 (either first or second version). The locomotive, however, was in a very poor condition – with substantial warping to the housings and frames. And after the handling of the USPS across the country, the housings deteriorated even more – with one housing breaking into dozens of pieces.

A quick analysis of the parts, however, showed that (nearly) all necessary pieces were present to rebuild the locomotive. Each crack also fit neatly back into place and all the breaks were very clean – meaning that piecing the locomotive back together could be possible. Missing parts like the window struts were reconstructed using metal backings for strength, 3D printed parts for shape, and epoxy putty to blend it together. The overall goal of the project after all, was to restore the locomotive to running condition, have it be presentable, and maintain as many original parts as possible.
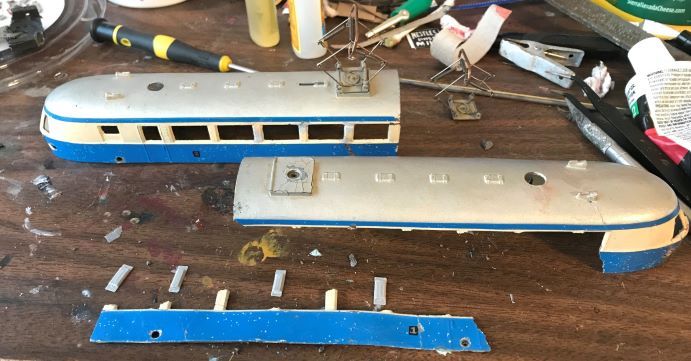
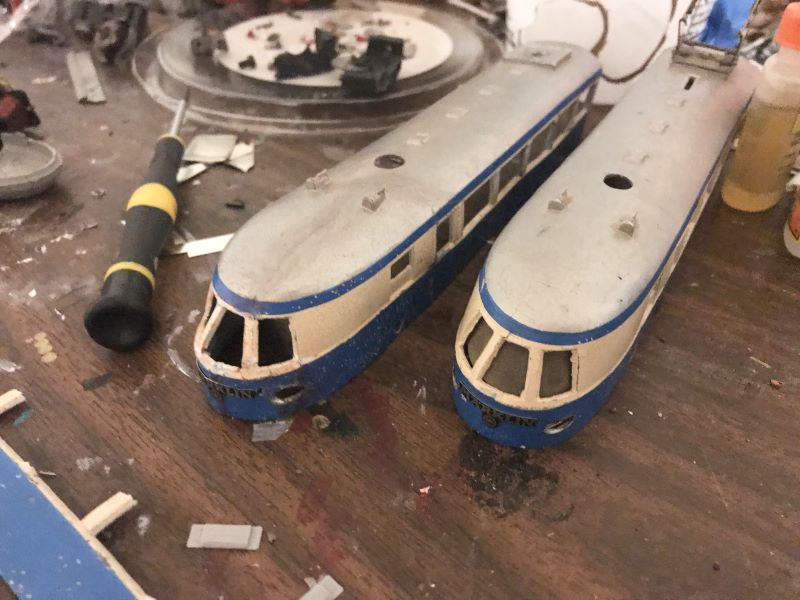
After repairing both bodies there was still a fair amount of warping to them. The warping would be impossible fix without breaking and re-setting pieces in different locations which would not be worth the effort. This, however, also disallowed the possibility of using replica or even new original frames because they would not fit after the housings had expanded and contracted in some areas. Instead, 3D printed supports were used to span the areas where the metal had completely eroded away. The printed supports were secured to the original metal at existing screw locations where the motors mounted to the frame. This provided a way to provide strength to the frames while still using the original parts that have the appropriate weight.
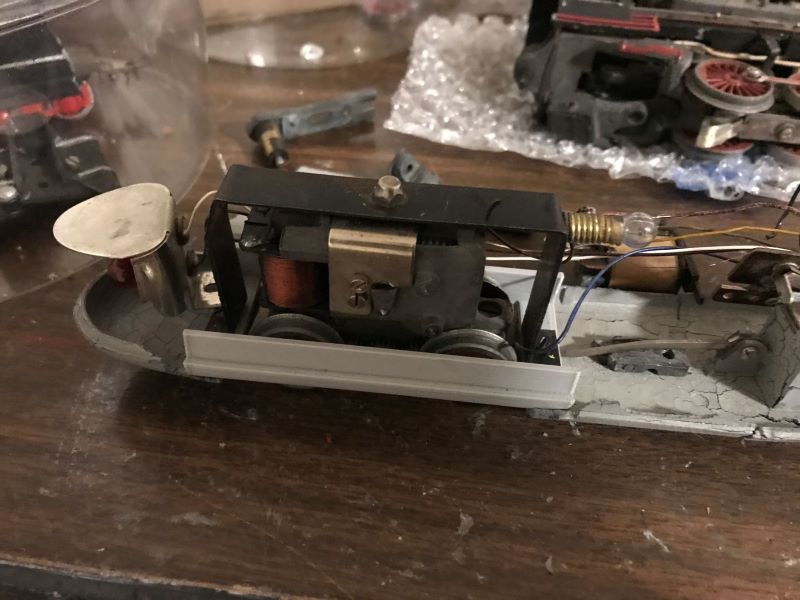
After the structural components of the housings and frames were mostly secure, it was time to move onto the motors. One more ran immediately very well and had almost no problems except for some loose wheels. The other motor, however, suffered from more zincpest. Salvaged original parts were borrowed from another locomotive from the same collection that had very bad damage but good motor parts. After assembling the parts together, a test run showed that the weight and balance of the locomotive was decent, but there were frequent derailments. The video below shows one test run in which the locomotive did not derail. A temporary while was used to provide power to the motors, since the ground was interrupted by a broken part.
All possible causes of derailments happened on this locomotive which makes it a very good teaching lesson on what causes derailments:
- Improper balance – the very end pieces which had broken off were not present which meant that the motors were weighted heavily on one side but not the other. This throws the motor off balance.
- One wheel set when refitted was not pressed on enough, meaning the distance between the wheels was too great, so the wheel was easily jumping off the track.
- One wheel flange was chipped off, meaning the wheel could slide off the rail. This was repaired and prevented future derailments.
- And finally, the rear motor did not have enough room to turn inside the frame, so it rubbed against the frame, which also caused derailments because the motor truck was not free to move.
After these adjustments were made, the locomotive ran perfectly!
Super work, well done.
Great to see such a wreck running again.
One world about your restauration : congratulation !
While my above comment/search for help is still “awaiting moderation” (for more than two weeks now) you might as well delete it. I was successful in making the railcar work flawless.
Good luck to your homepage project, though.
Wolfgang.