The Legacy of Tom Sage Sr: A Collector’s Dream Comes to Auction
The world of antique toy collecting is abuzz with anticipation as Morphy Auctions presents a landmark event: the auction of the late Tom Sage Sr.’s esteemed toy collection. Scheduled for May 29, 2025, this sale offers collectors and enthusiasts a rare opportunity to acquire pieces from one of the most revered figures in the antique toy community.
🧸 A Life Dedicated to Toys
Tom Sage Sr., who began his collecting journey in 1967, was more than just a collector; he was a pioneer in the antique toy industry. His passion and expertise led him to become one of the earliest entrepreneurs to build a business around antique toys, making significant contributions to the field over several decades. His reputation for quality, trustworthiness, and deep knowledge made him a respected figure at antique shows and auctions across the U.S. and Europe.
🚂 The Collection: A Treasure Trove of Rarities
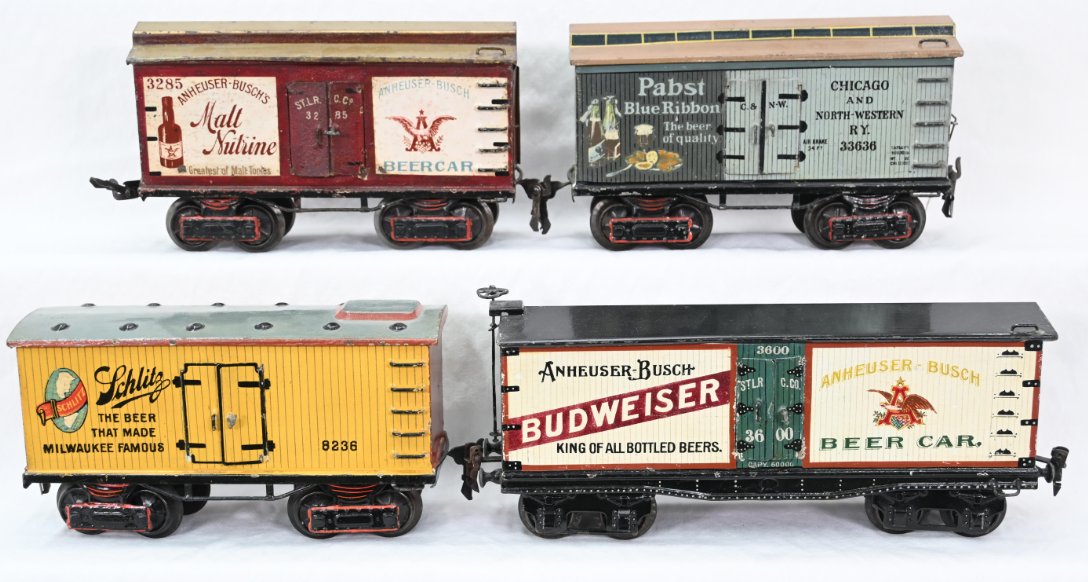
The upcoming auction will feature between 500 and 600 exceptional European and American toys and trains, divided between two sales—one on May 29 and another in late October. These pieces, amassed over a lifetime, reflect Sage’s discerning eye and dedication to the hobby.
🏛️ Auction Details
- Auction House: Morphy Auctions
- Location: Southeastern Pennsylvania gallery
- Date: May 29, 2025
- Bidding Options: In-person, phone, and online bidding available
For those interested in participating, slipcased hardcover catalogs will be available, and a fully illustrated online catalog is available here.
⚡ Electricity in the Air: Early Märklin Electric
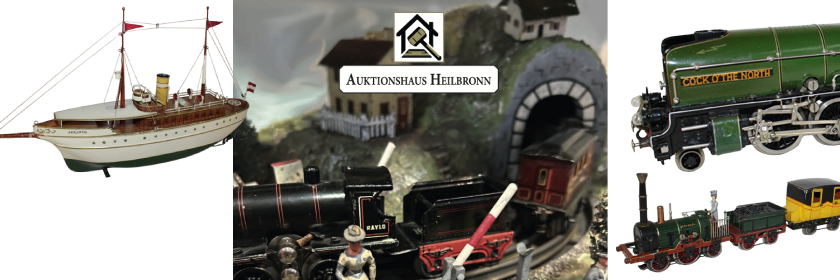
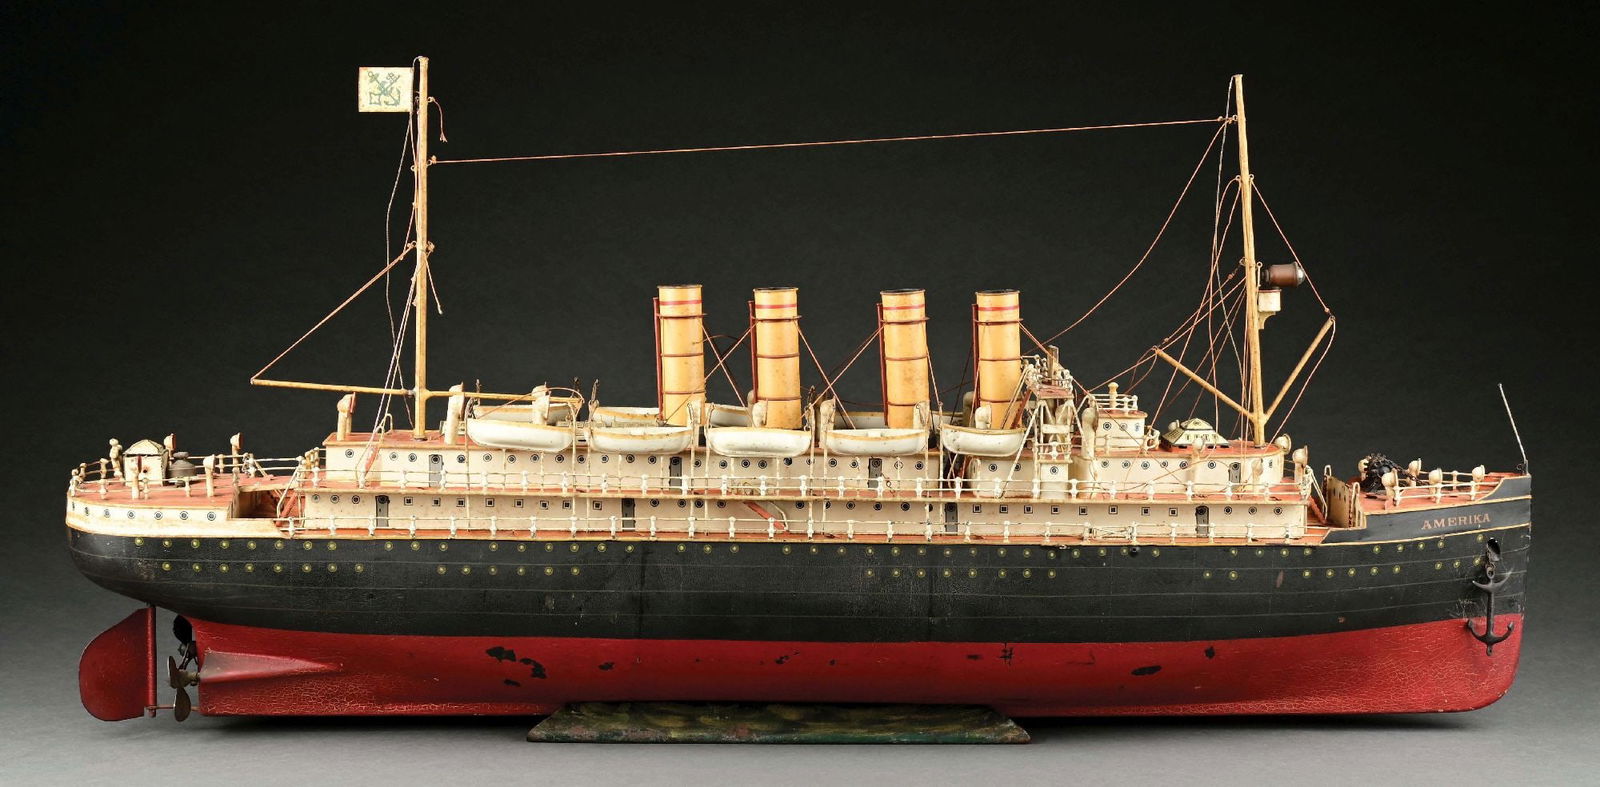
Among the standout pieces in Tom Sage Sr.’s collection is the rare Märklin ‘Amerika’ electric ocean liner, catalog reference 505011E. This early 20th-century marvel exemplifies the innovative spirit of its era, featuring a dry-cell battery-powered motor capable of propelling the ship for up to seven hours—a remarkable feat for its time. Crafted with meticulous attention to detail, the ‘Amerika’ boasts a multi-tiered superstructure, lifeboats, masts, and an extraordinary color-coordinated paint scheme. Its presence in the auction not only offers collectors a chance to own a piece of maritime and toy history but also serves as a testament to the technological advancements that captivated imaginations over a century ago.
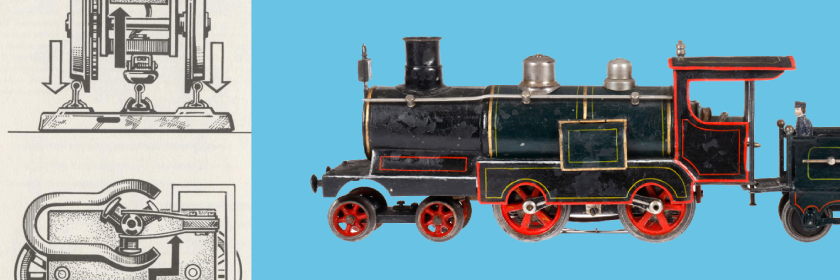
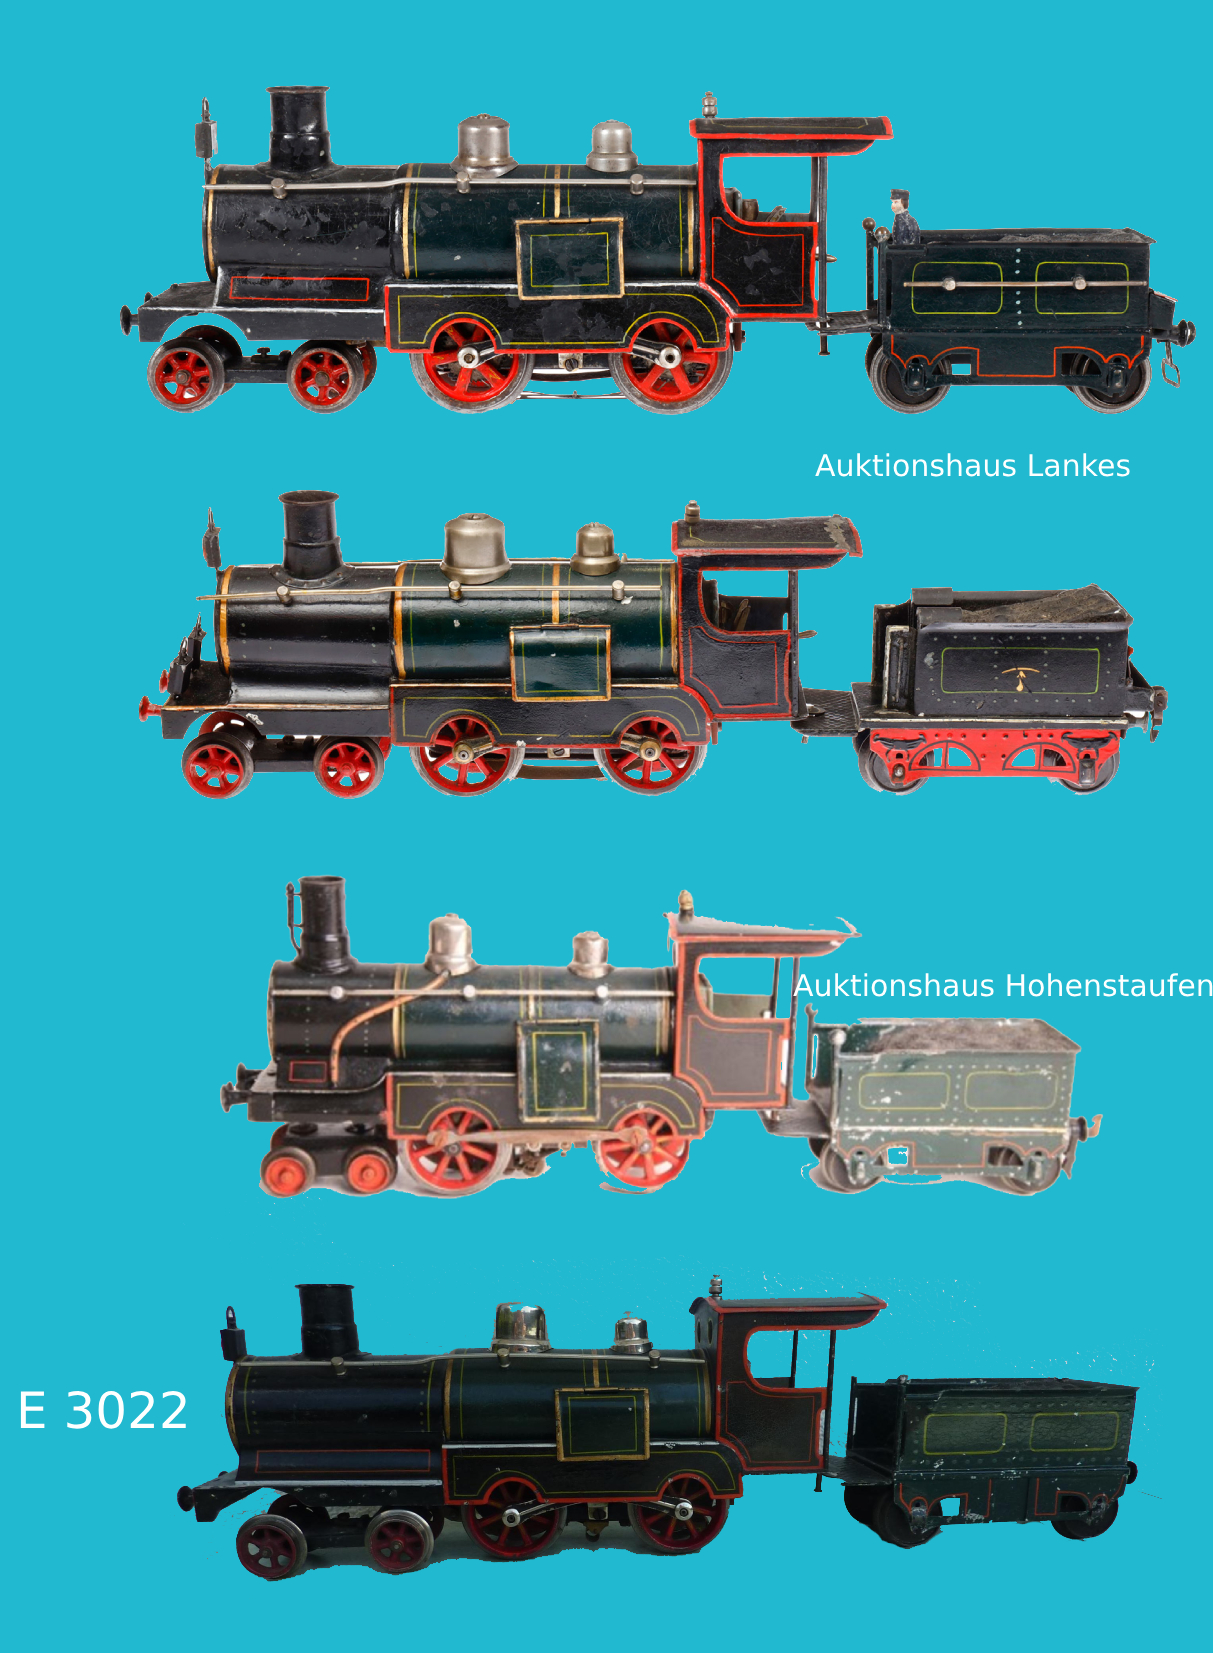
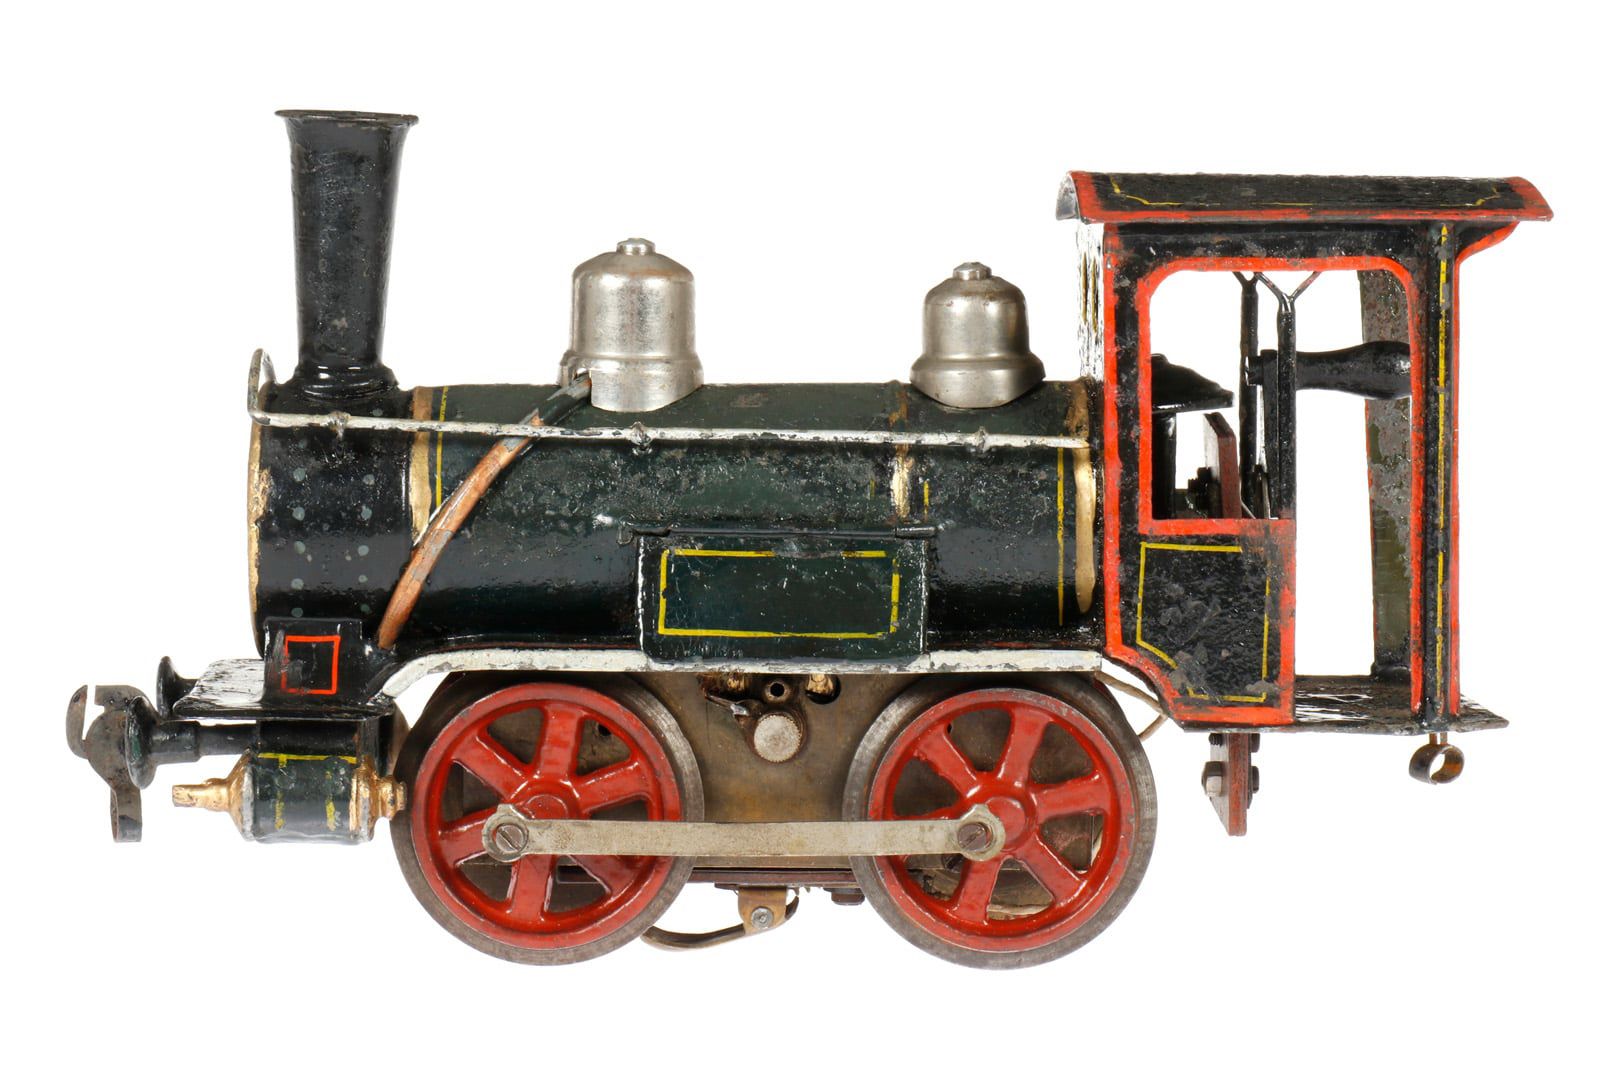
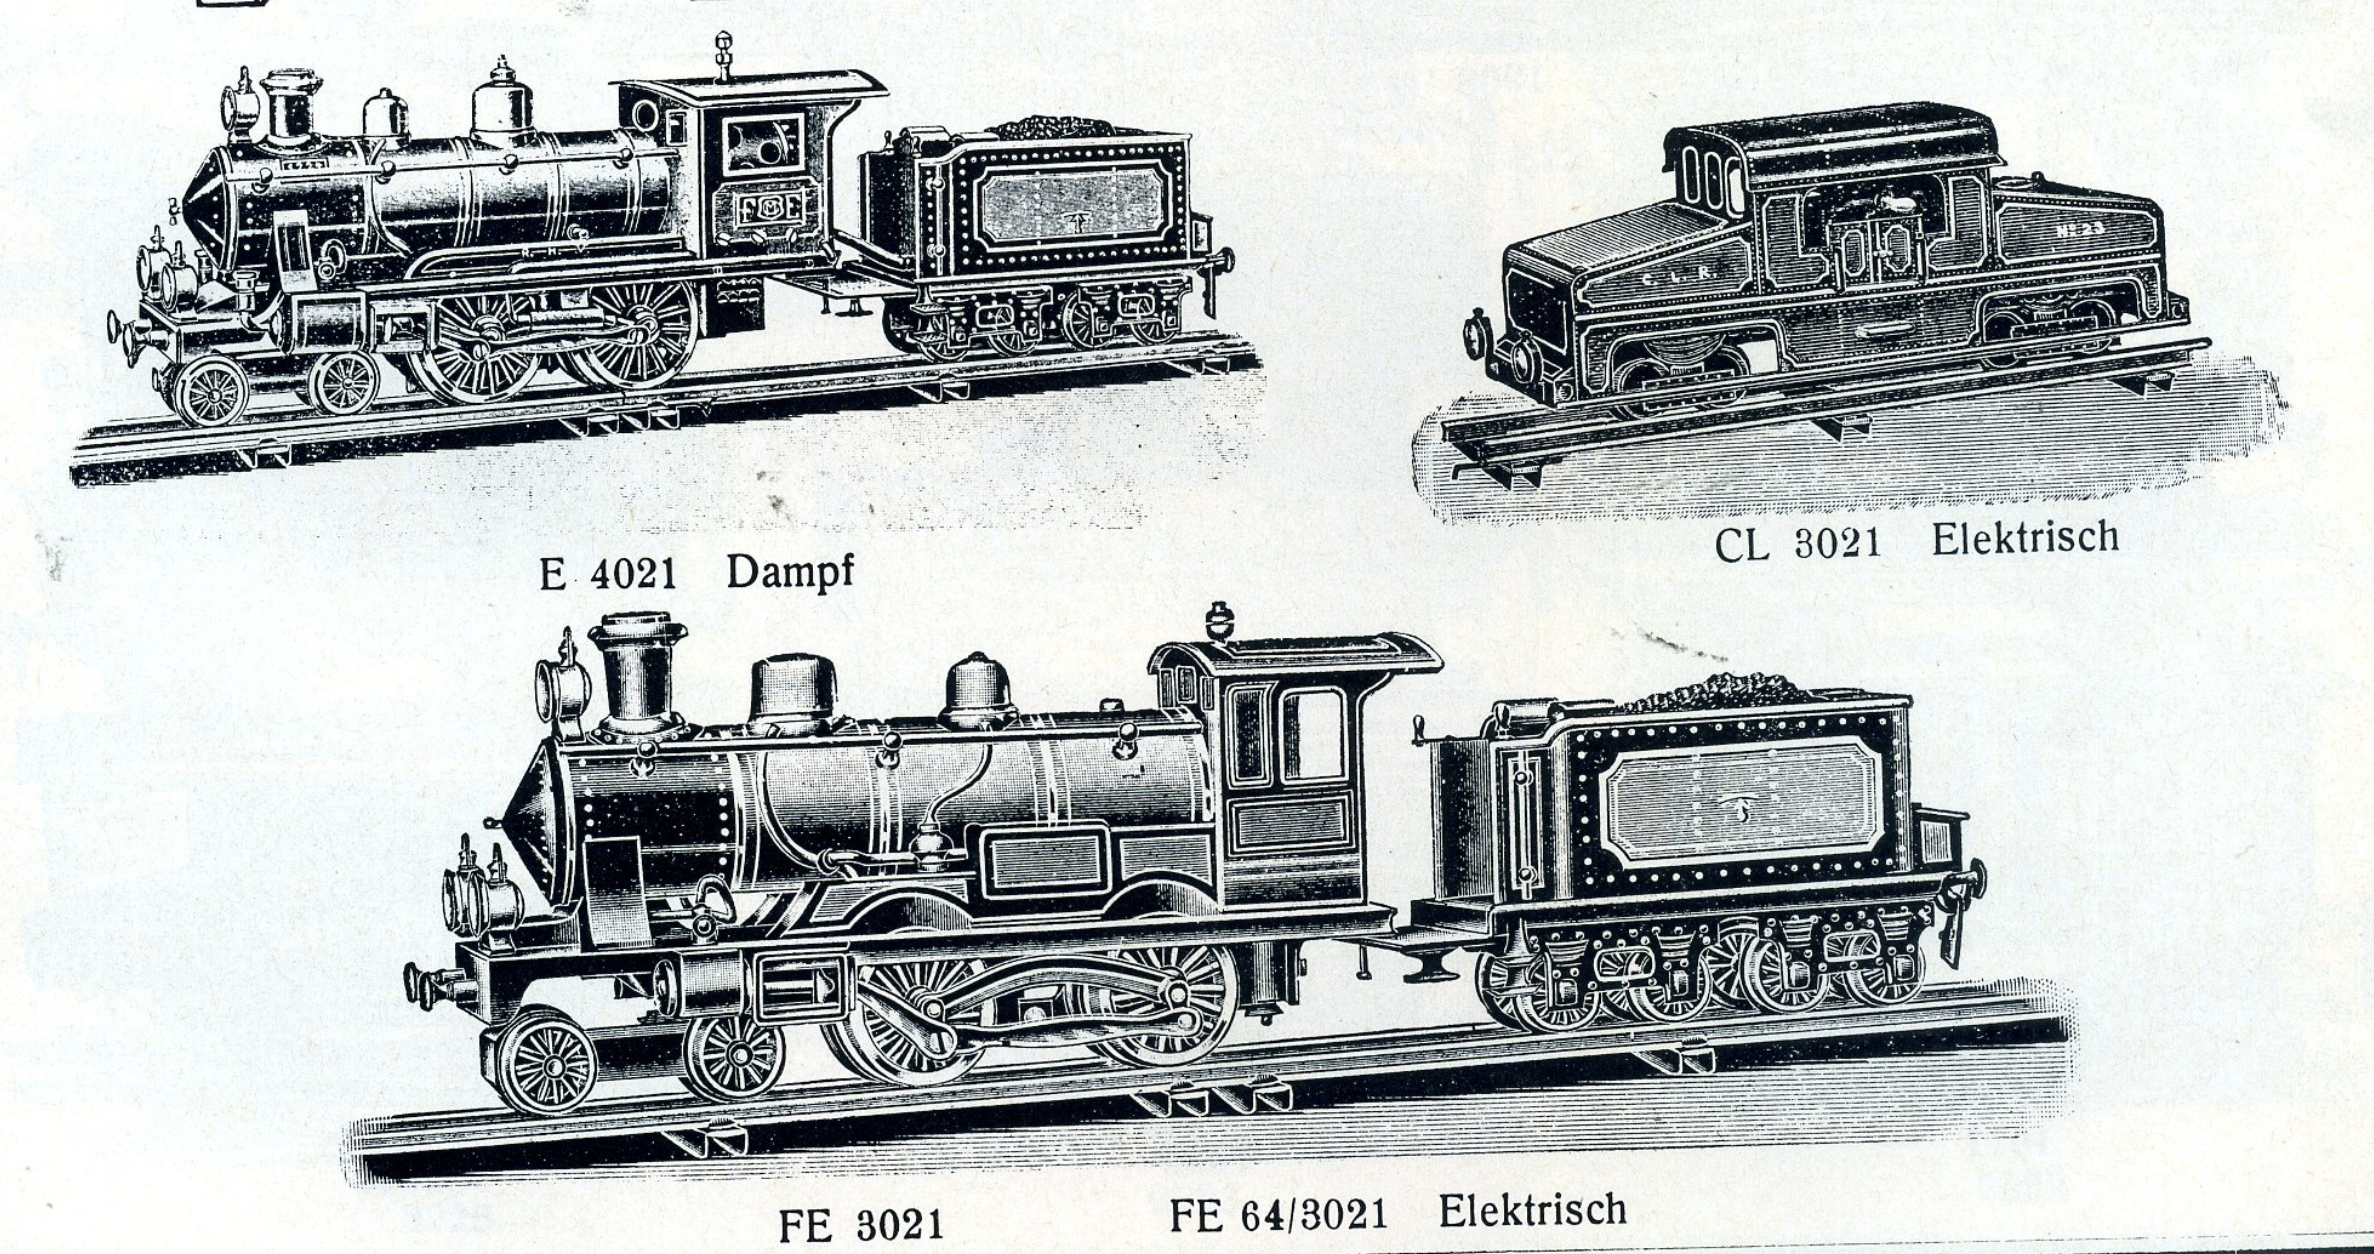
Another highlight of the Tom Sage Sr. collection is the Märklin FE 4-4-0 electric locomotive and tender. This locomotive and more are featured in our last post covering Marklin’s first use of electricity to power its locomotives.

🌟 A Legacy Preserved
Dan Morphy, president of Morphy Auctions, remarked, “Tom Sage was known worldwide for chasing and collecting some of the finest European tin and American toys ever made.” This auction not only offers a chance to own a piece of history but also serves as a tribute to Sage’s enduring impact on the world of antique toys.

