Roof Vents & Trucks: Restoration of a Model Nr. 351 Passenger Coach from 1946
A common sight to any Marklin 00 collector: broken trucks and missing roof vents on a beautiful 350-series coach. Over the years, Zinc diecast parts suffer from “Zincpest” making them brittle and prone to breakage. The thin supports of the roof vents and two posts that secure the side trucks to the stamped metal frame are extremely vulnerable to breaking. In this article we’ll go from beginning to end, restoring a 351 passenger coach using high-quality replica parts.
The roof vents can be purchased from the MarklinStop shop click here.
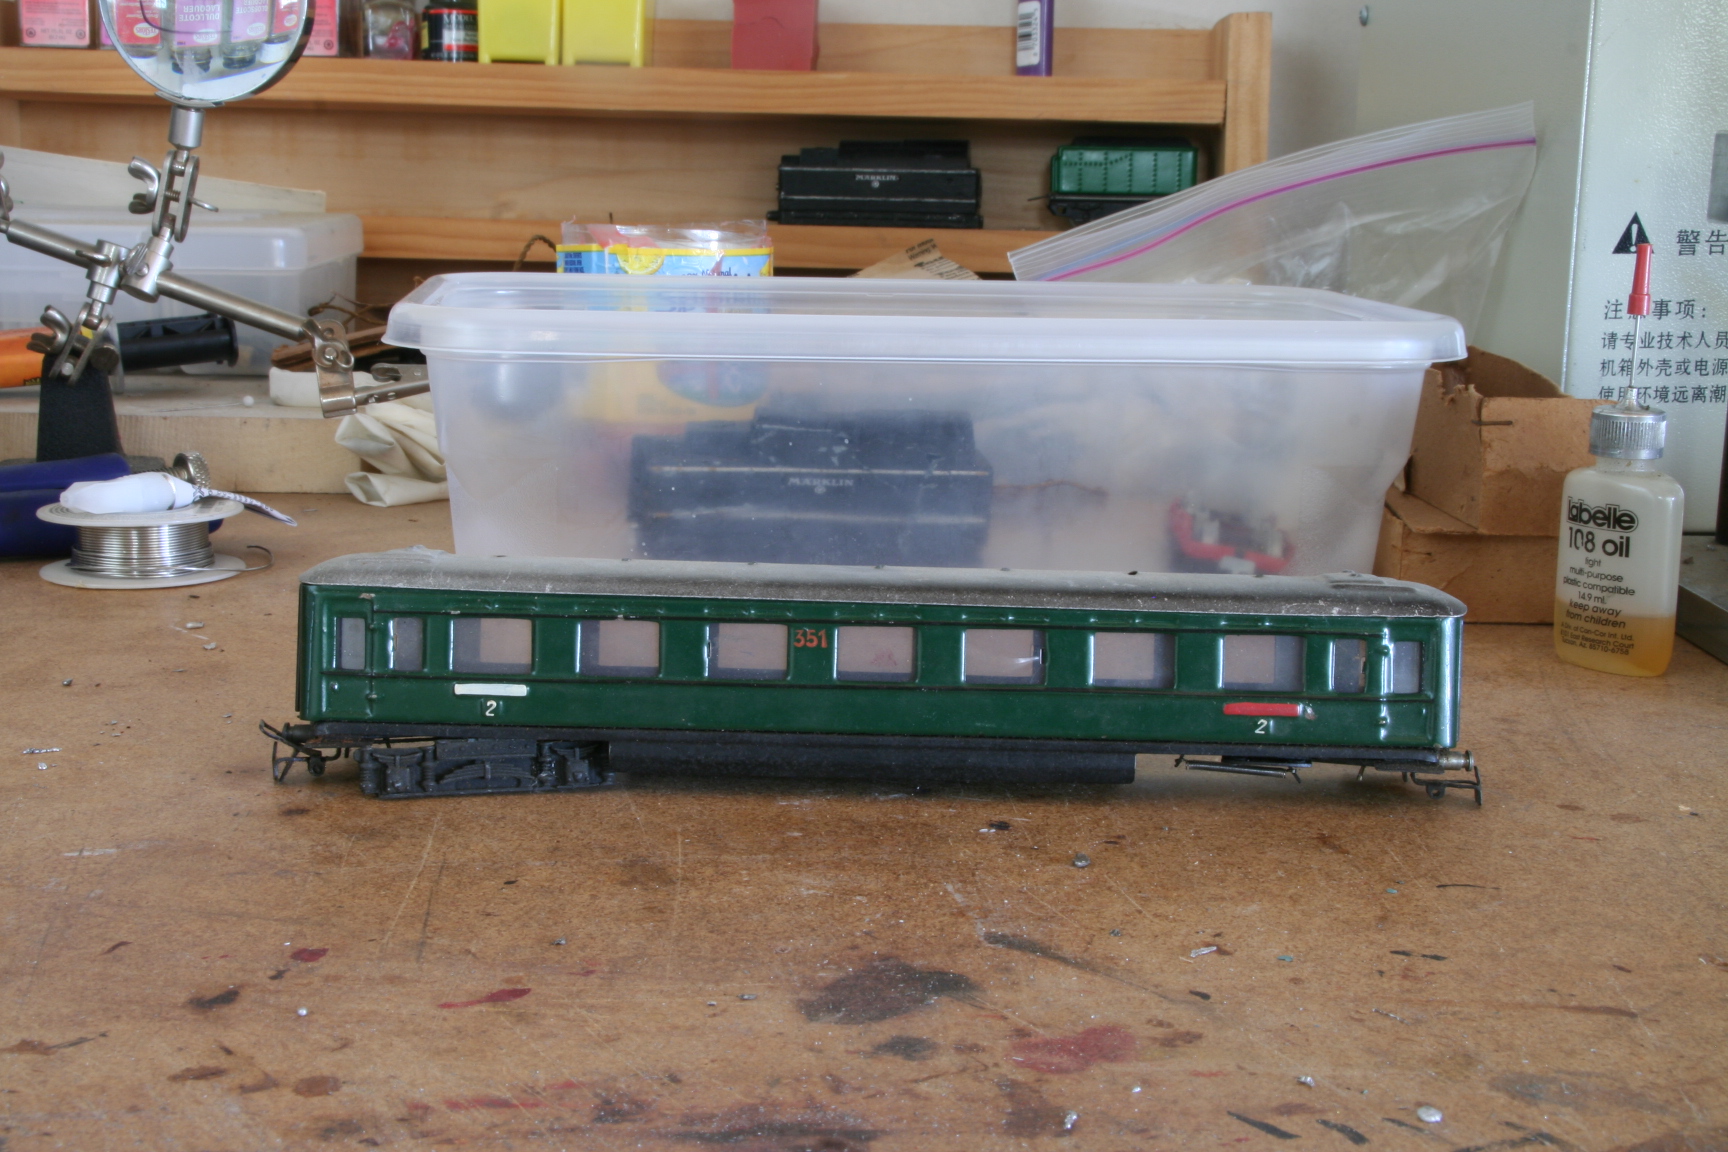
The “before” condition of a model 351 coach from 1946, known for the hand-stamping of the “351” and class designations. This model was commonly sold in PX sets to US soldiers in Germany and around Europe.
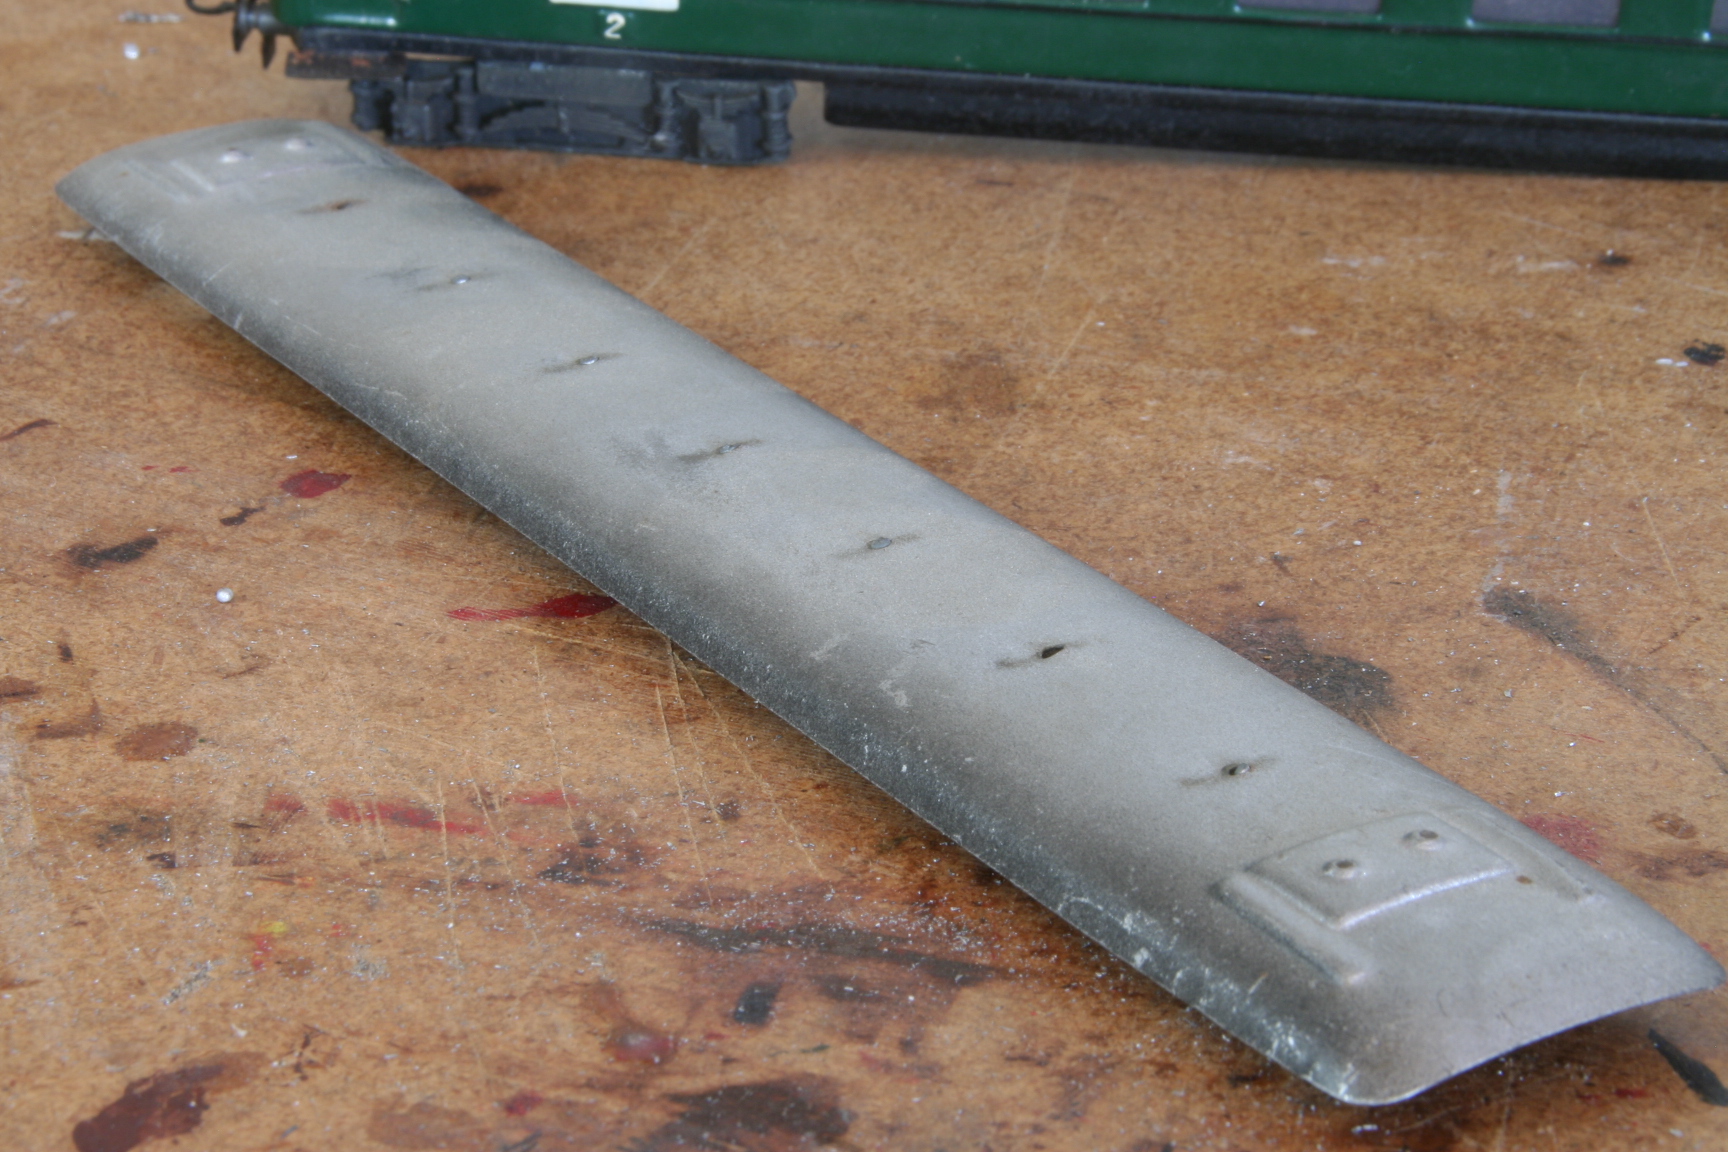
The tinplate roof of this 351 car, shown with all vents broken. Some holes have part of the broken vent still present whereas other holes are empty since the vent came out completely.
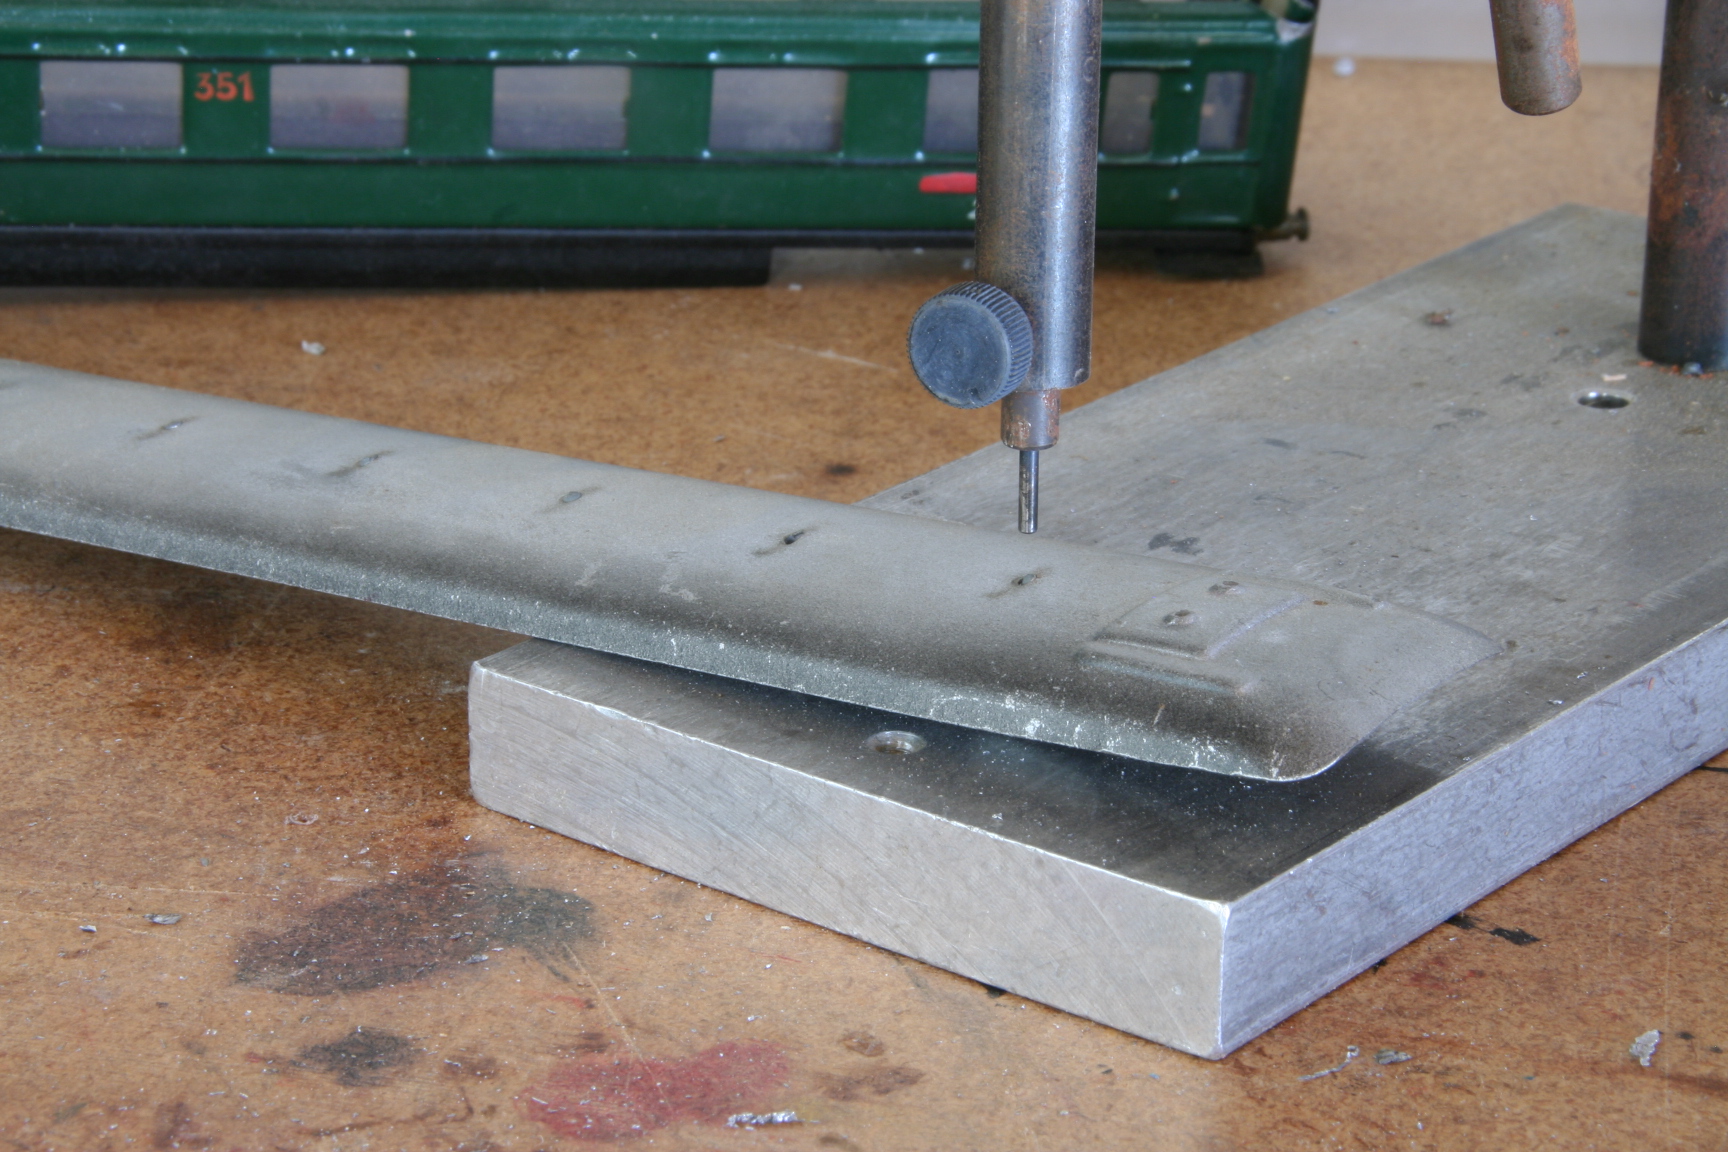
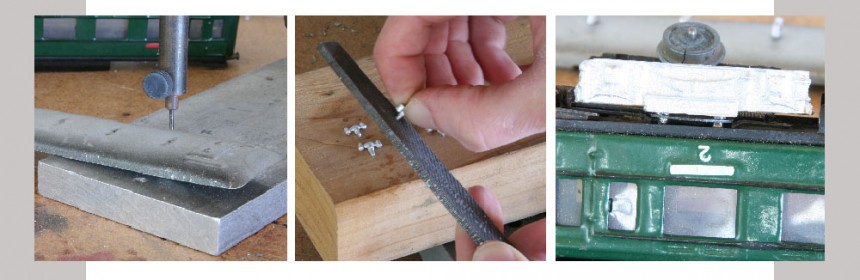
We’re using here a “SensiPress” to carefully press out the remaining broken vent from the holes so we can press in the new replica vents. Be careful not to press too hard or it will bend the tinplate. It’s a good idea to support the roof from underneath if it begins to bend under the pressure.
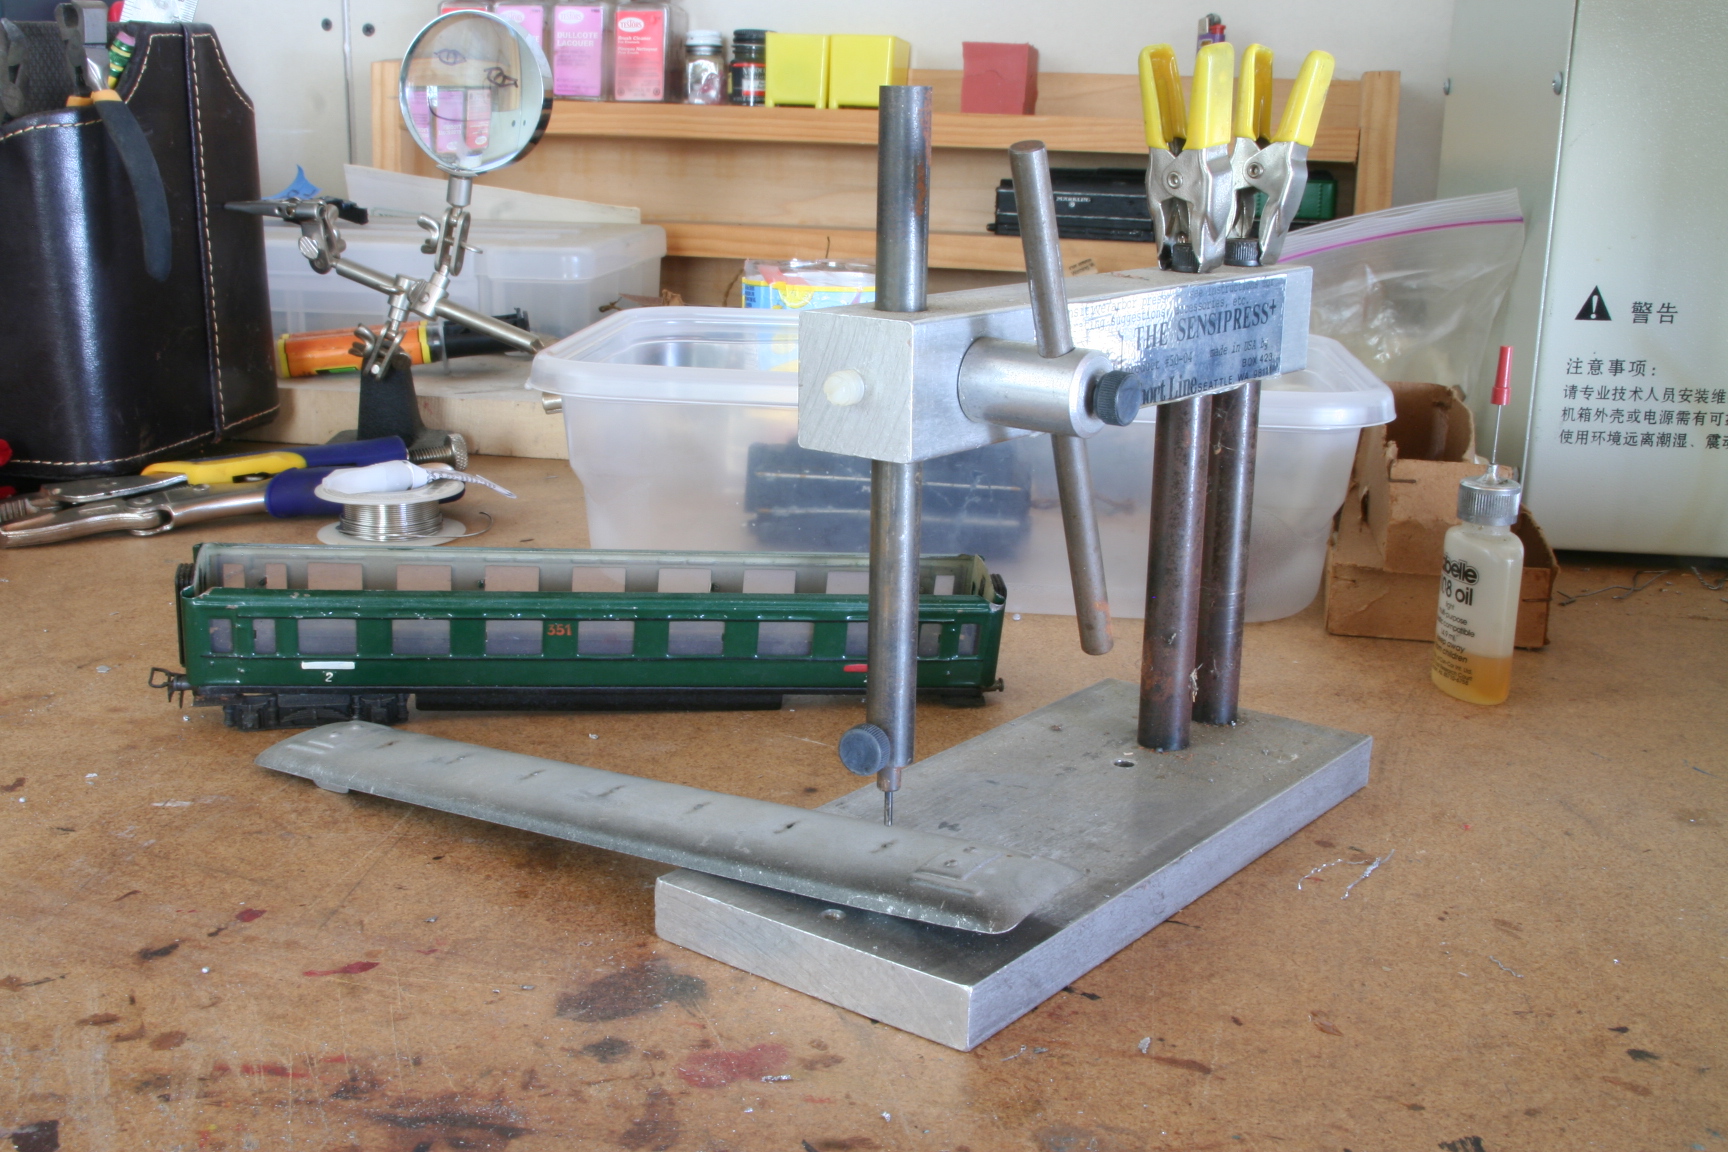
An overall view of the press device. Any press will work as long as it has a small fitting that can press out the broken roof vent.
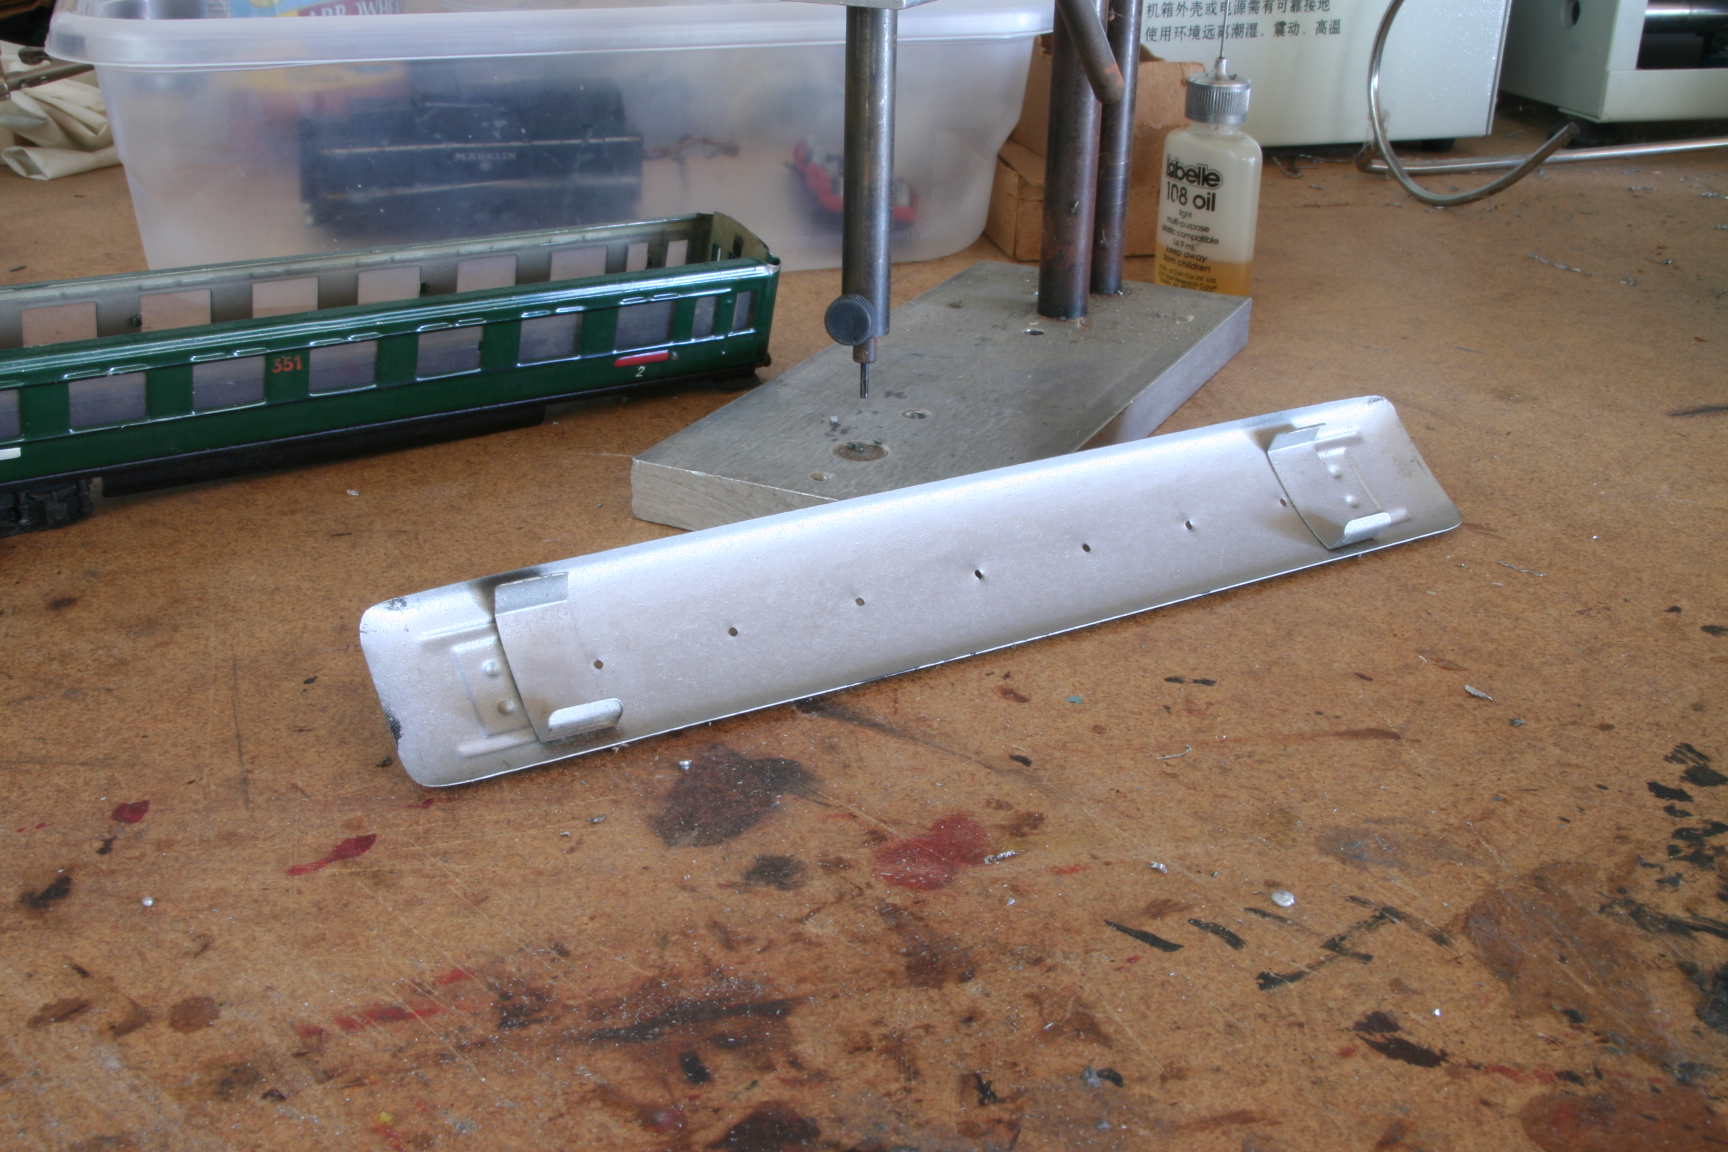
All broken vent pieces have been removed and the roof is ready for new vents.
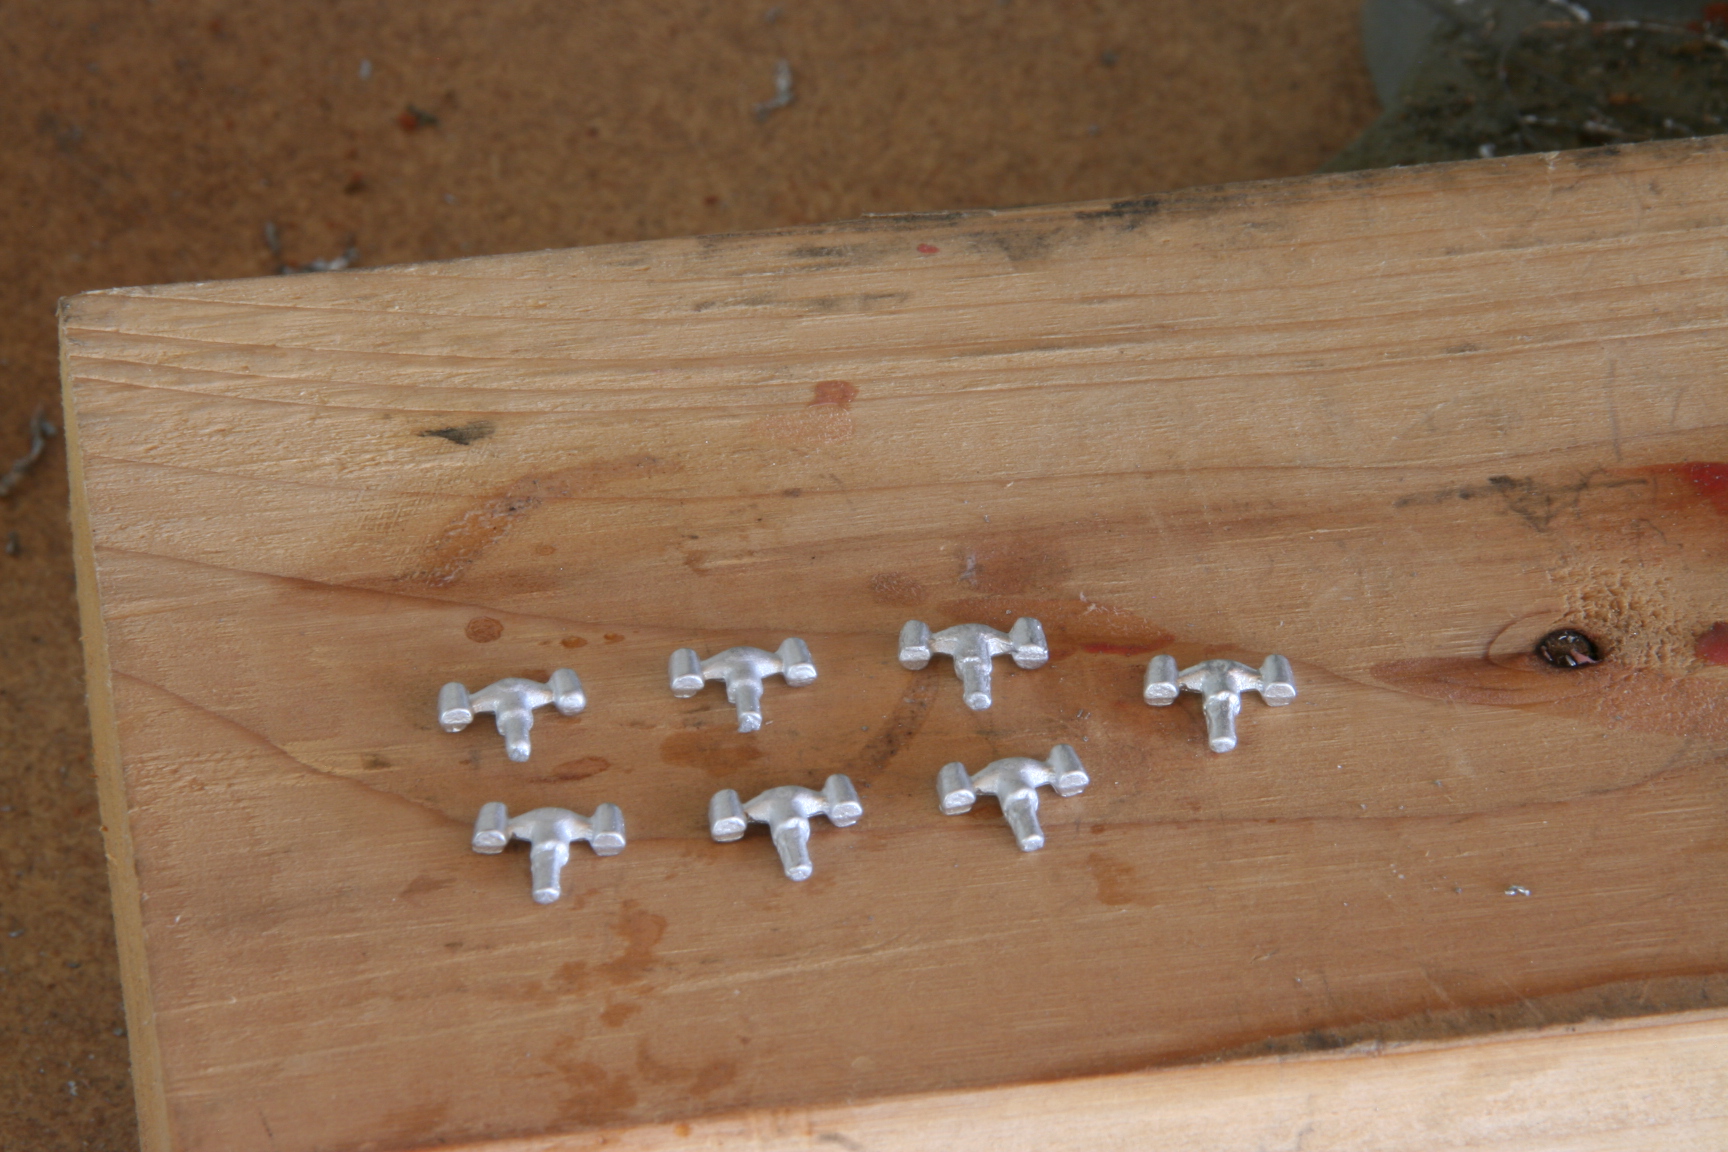
All 7 of our new replica roof vents.
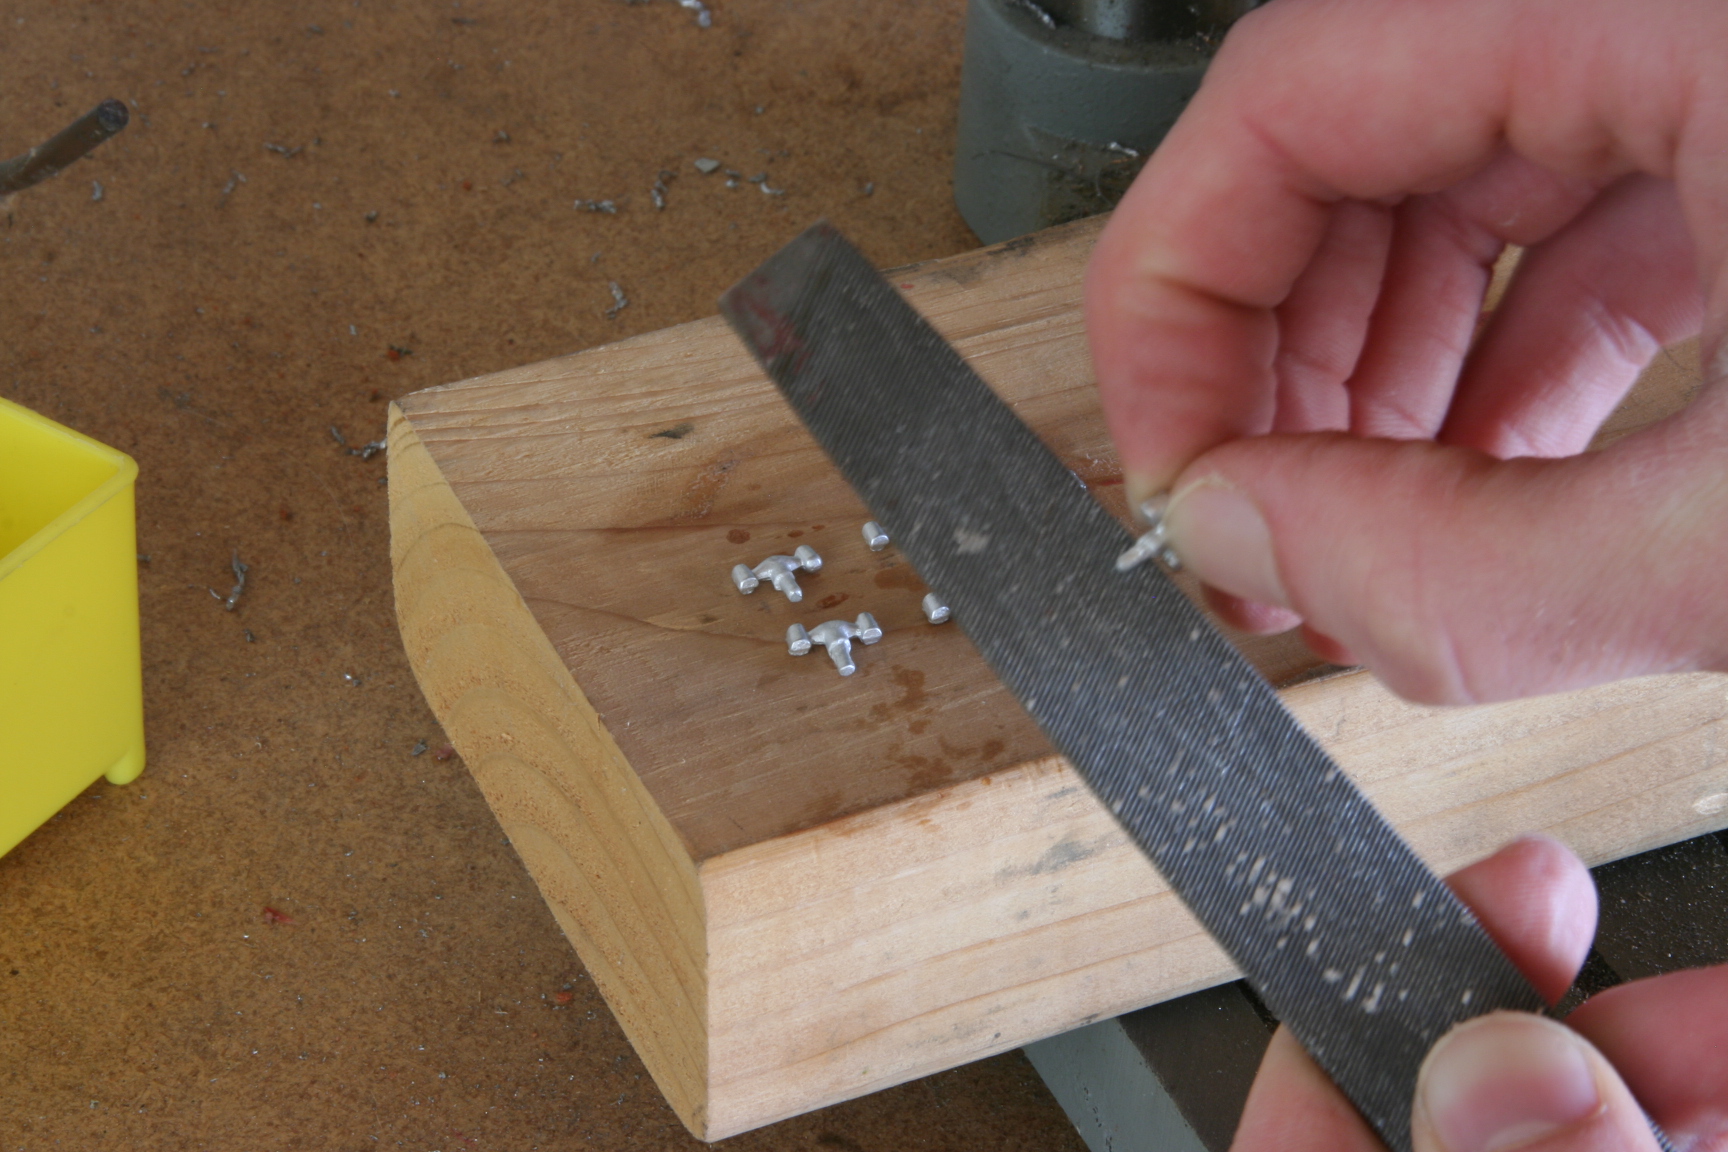
Use a file to gently smooth the surface of the vent post. As a rough guide, run the file 5 times over the vent on all sides. If you need, test fit it into the roof holes. You want the fit to be snug, but without filing the vent will likely not fit in the hole.
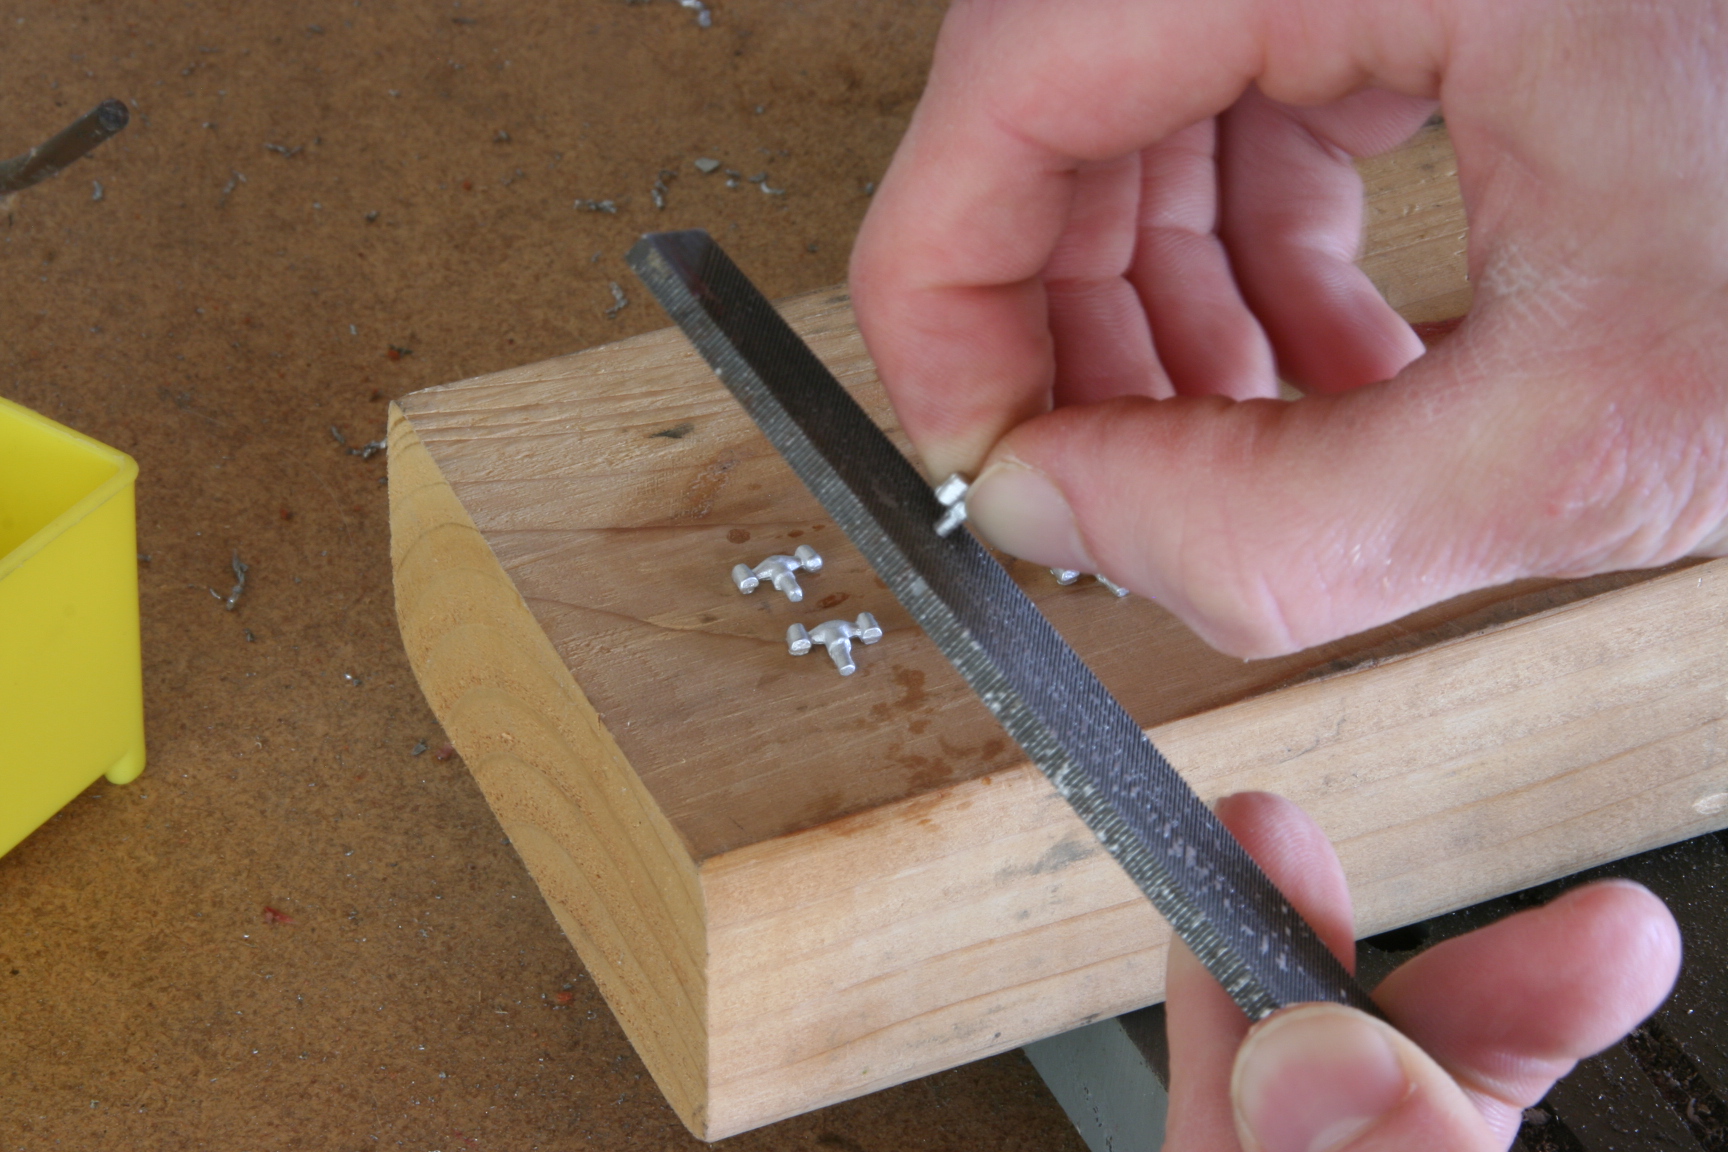
File down the bottom face of the post as well. Only about half of the post or less is needed to affix it securely to the roof.
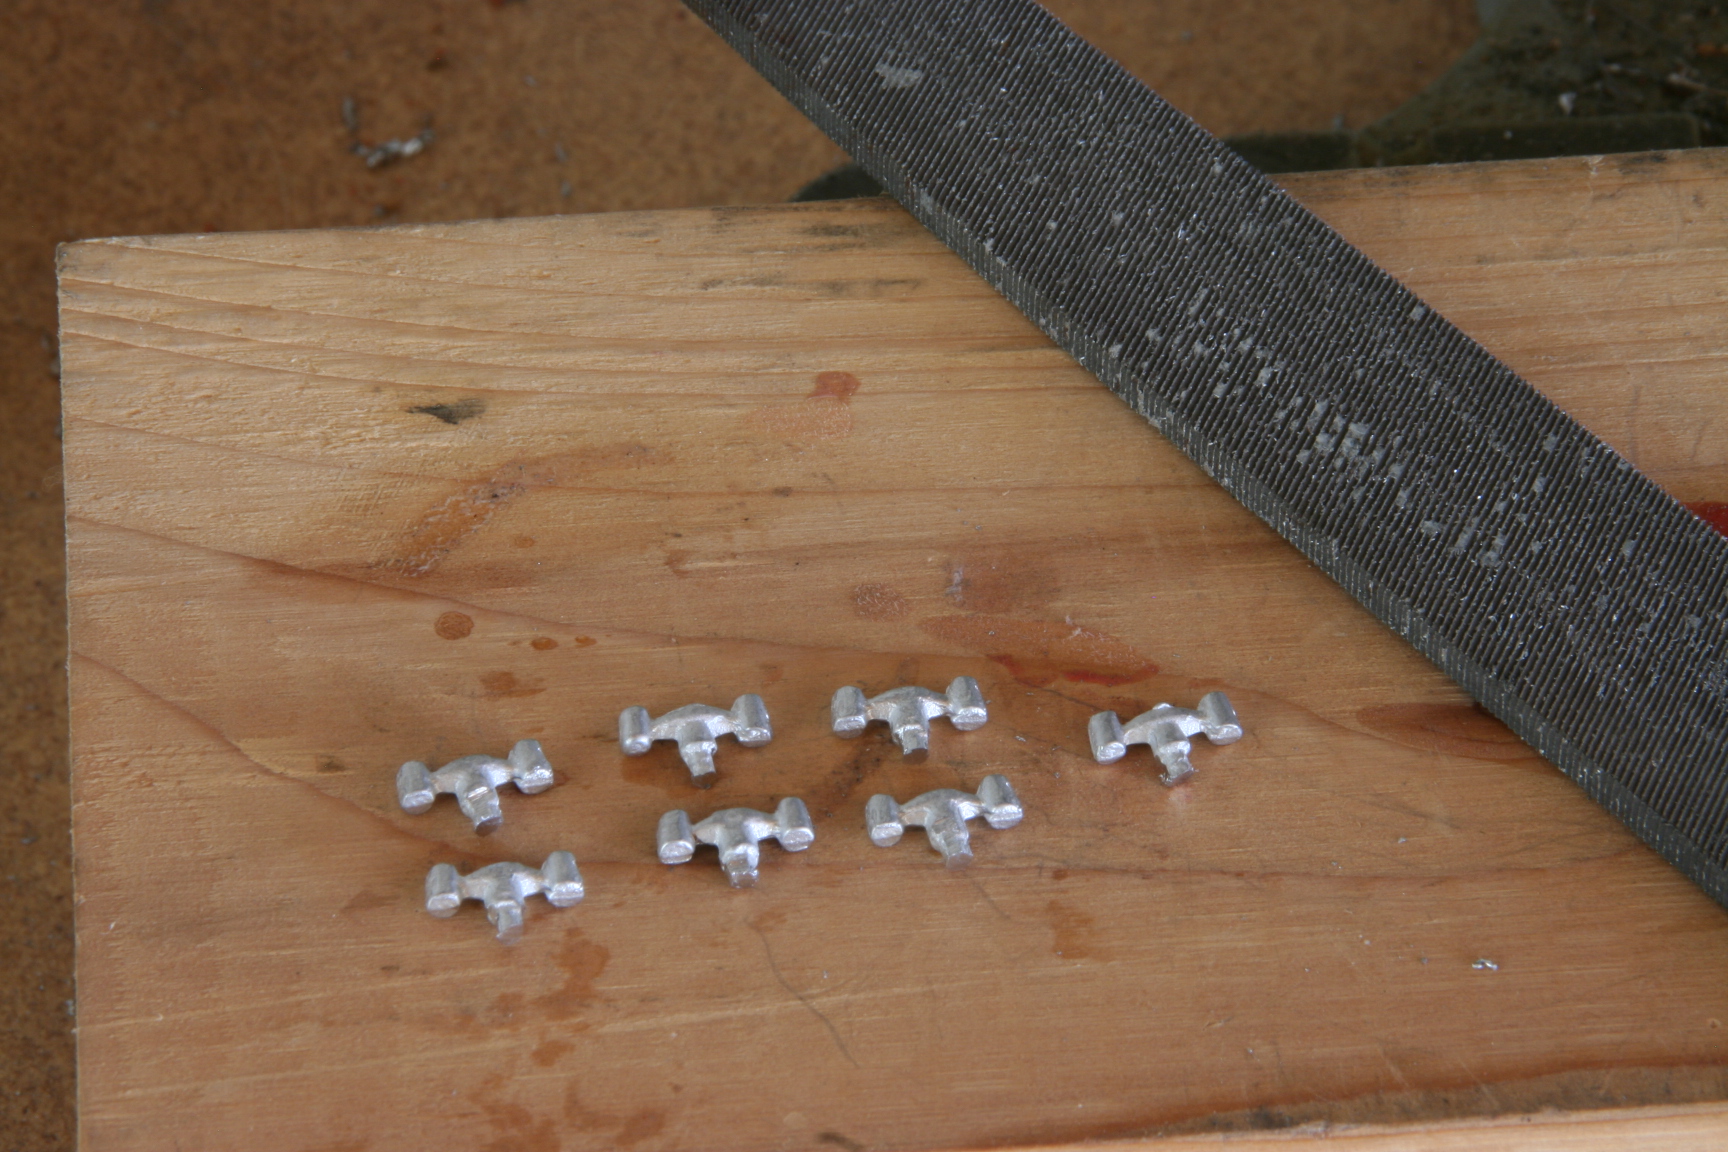
All 7 vents have been filed down and are ready to be fitted into the roof.
While holding the vent, press it into the roof and twist the vent to “screw” it into the hole. You may have to turn it several times to work it into place.
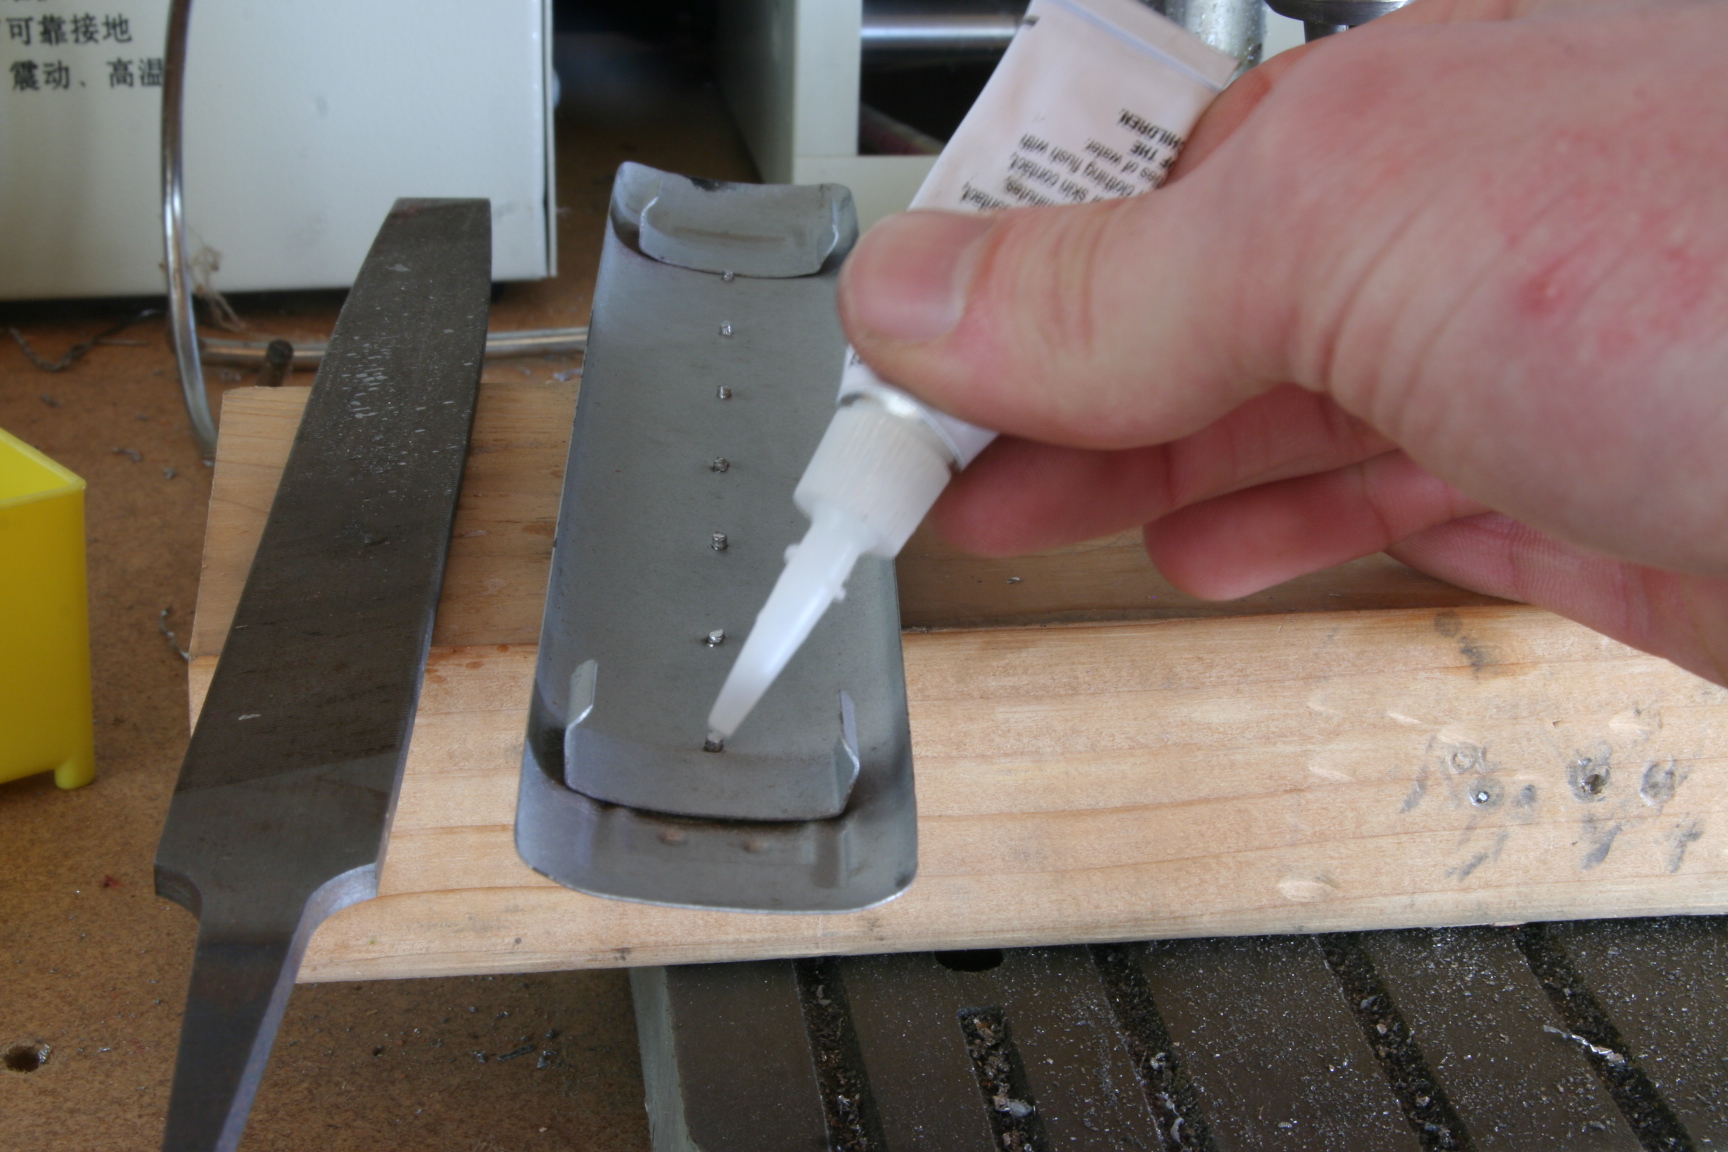
Optionally use a single drop of super glue to secure the vent in place, making sure the glue hits the seam of the vent and the roof.
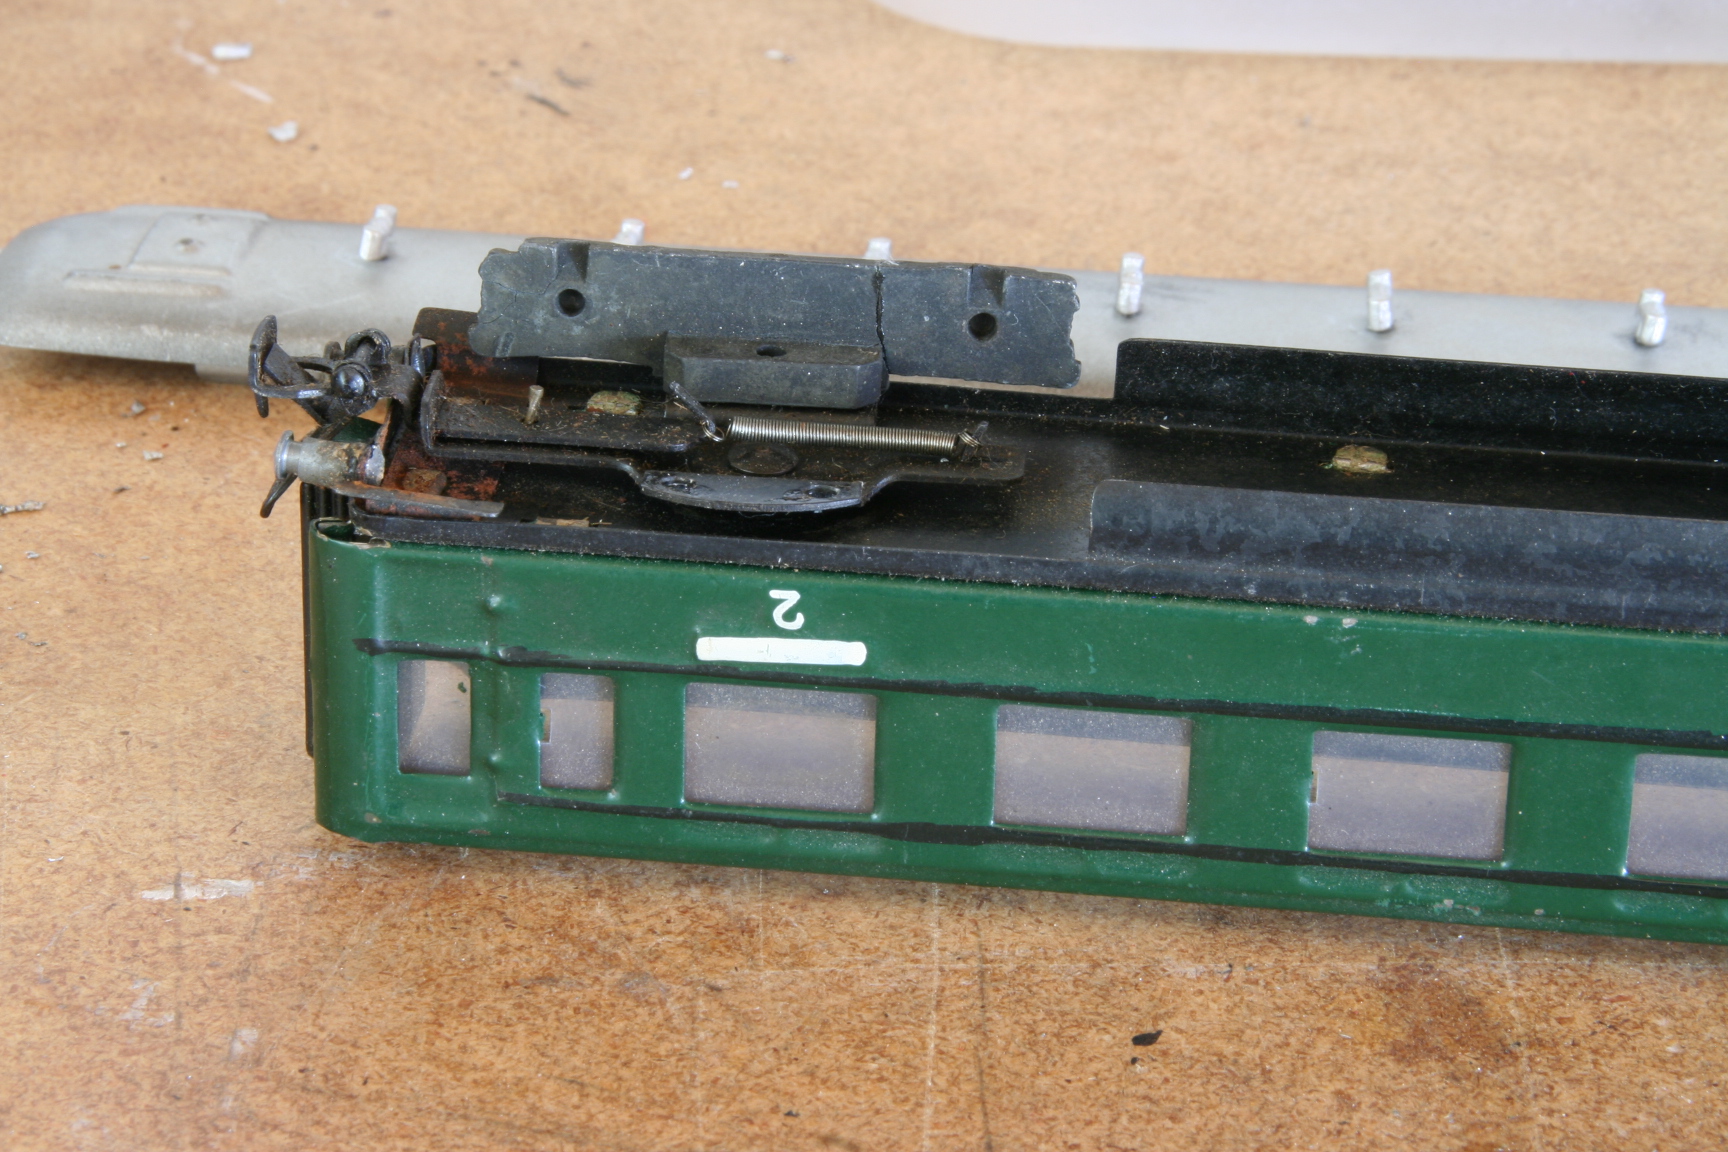
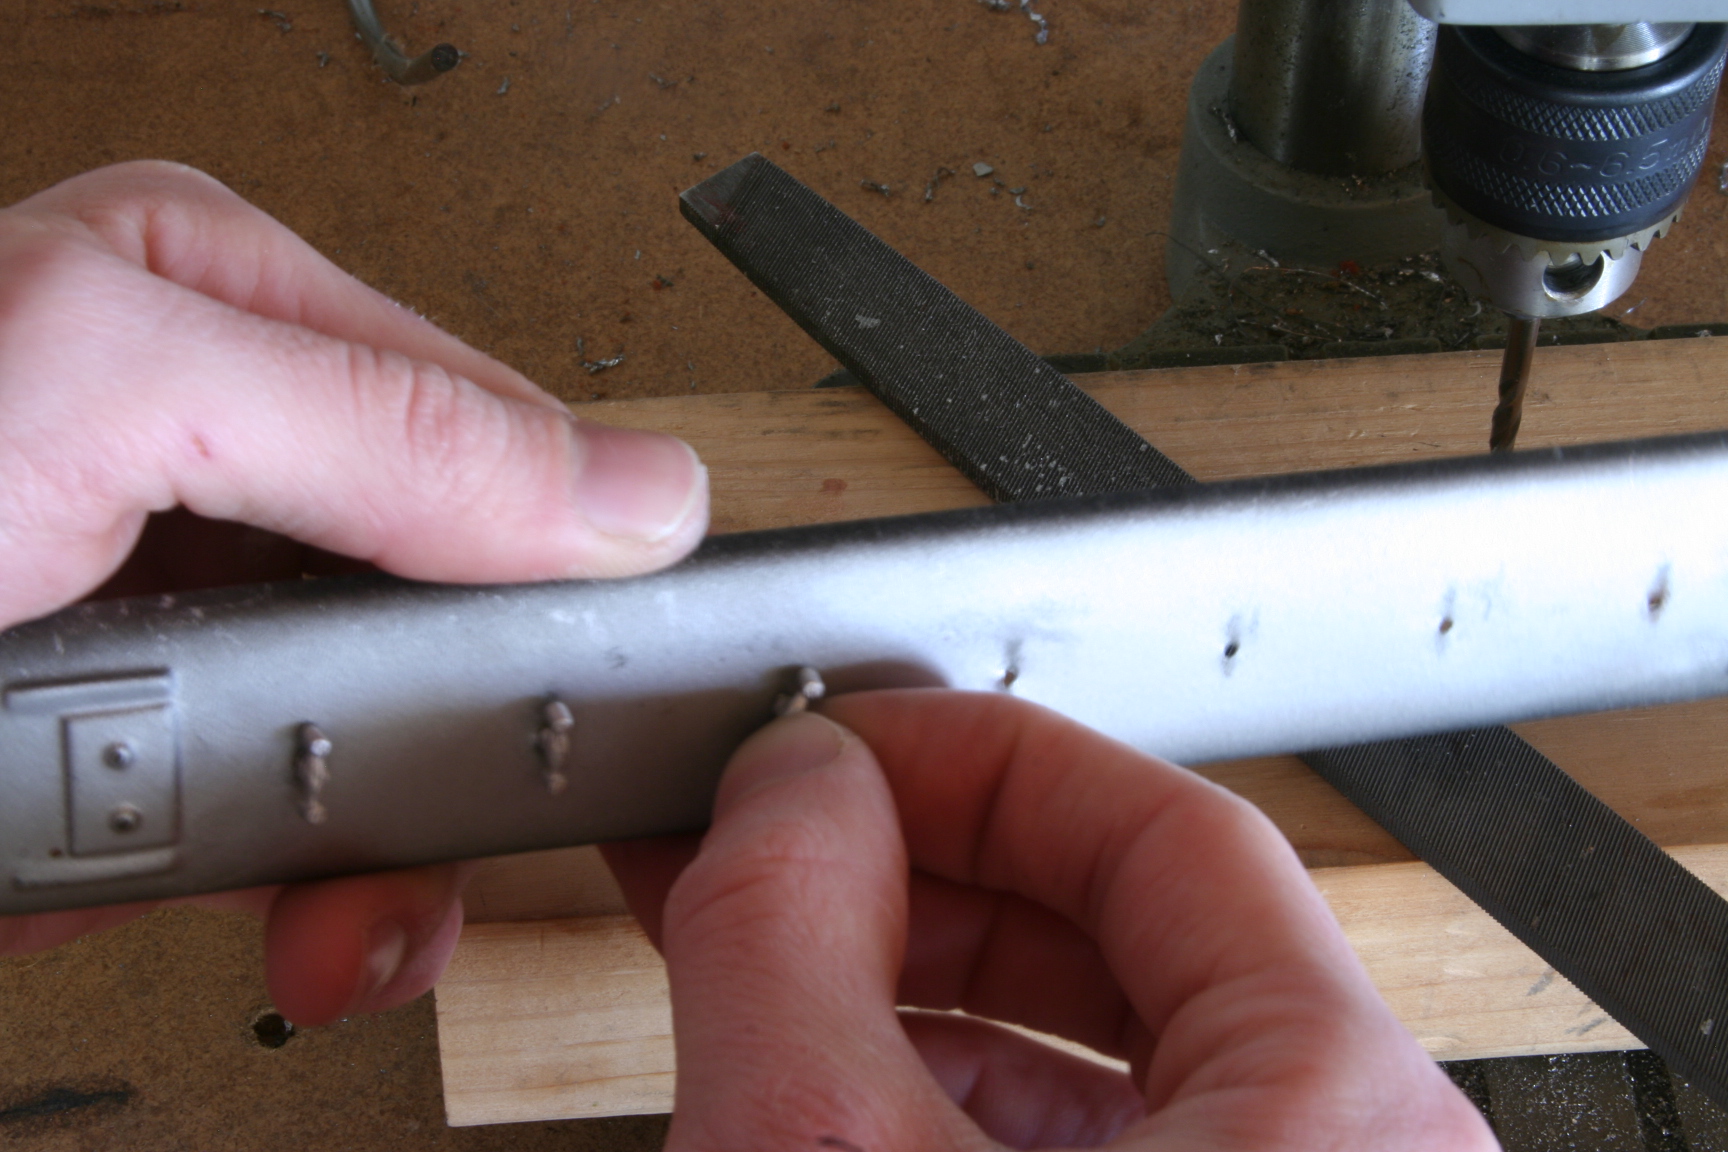
Another common sight: a broken truck. Whether using a replica part or an original truck, be sure to remove the broken posts from the tinplate mount. This will create a flat surface for your replacement truck.
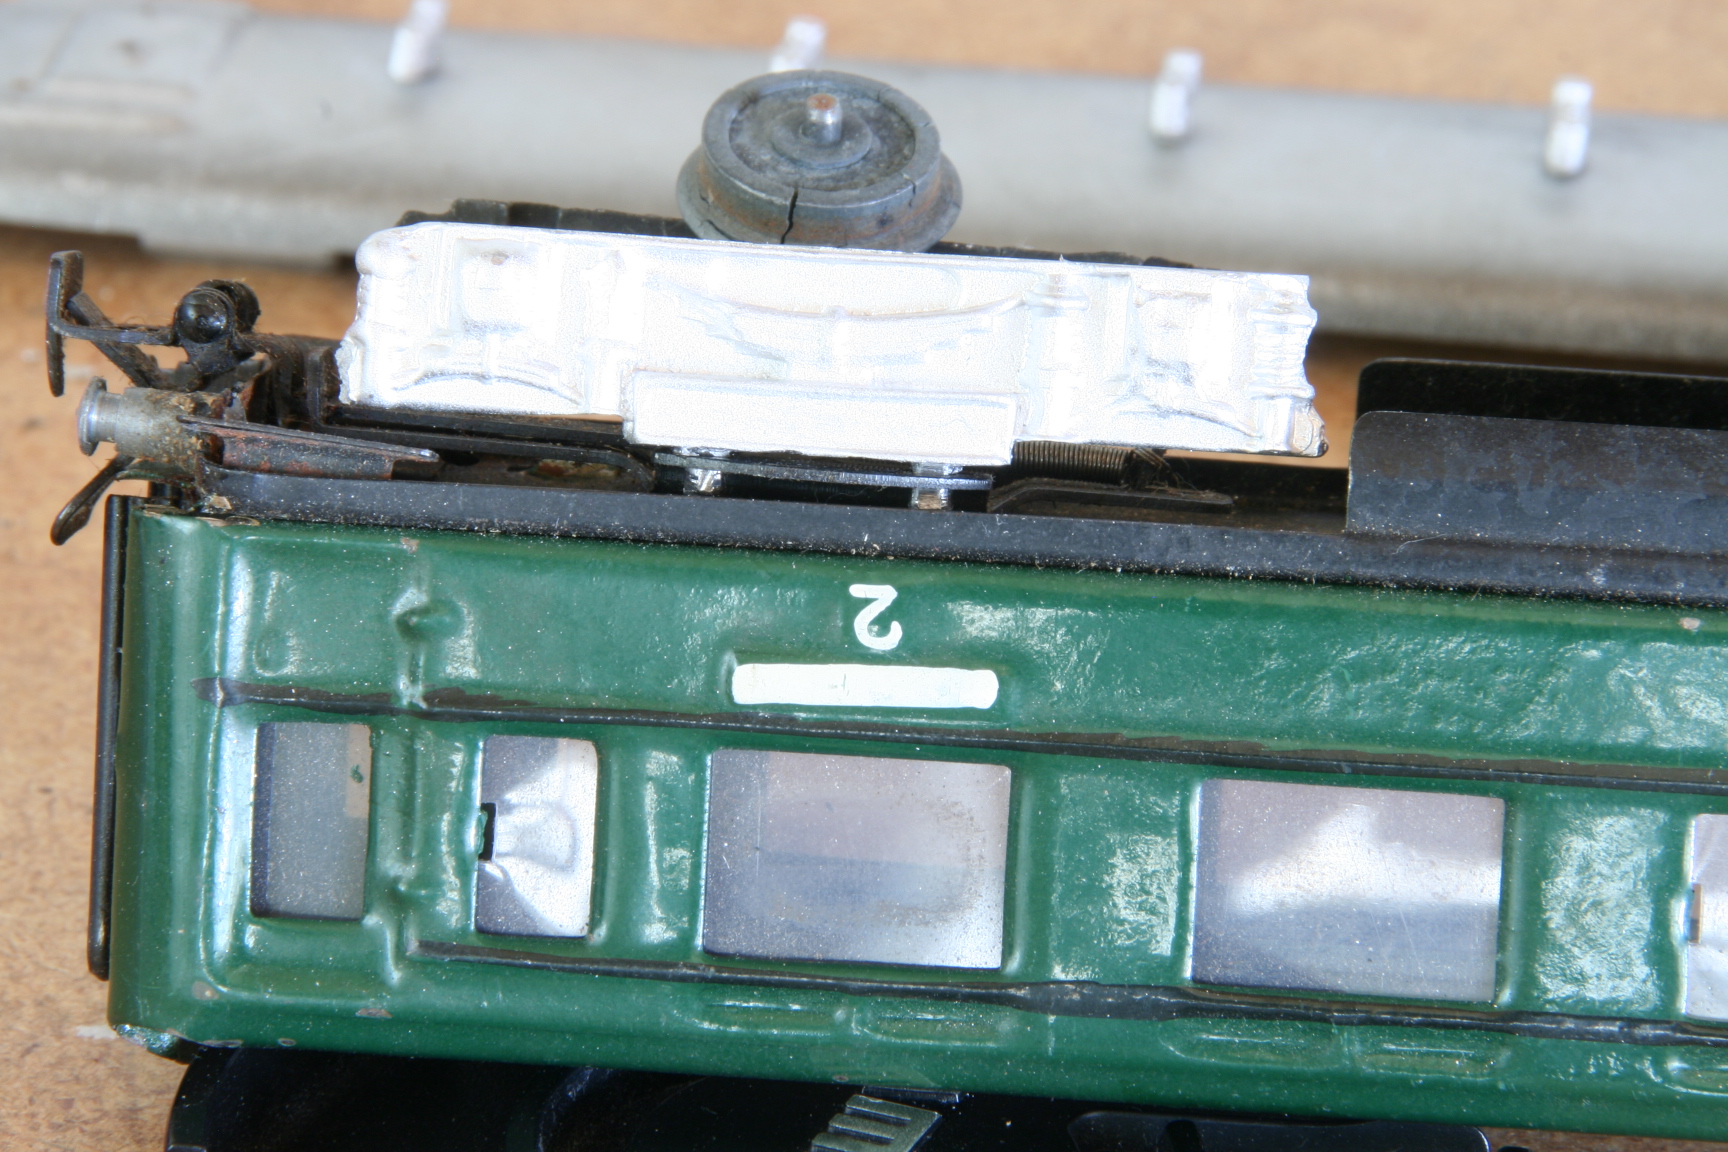
Here an unpainted replica truck is shown inserted into the tinplate mount. Use super glue if necessary to affix it to the mount.
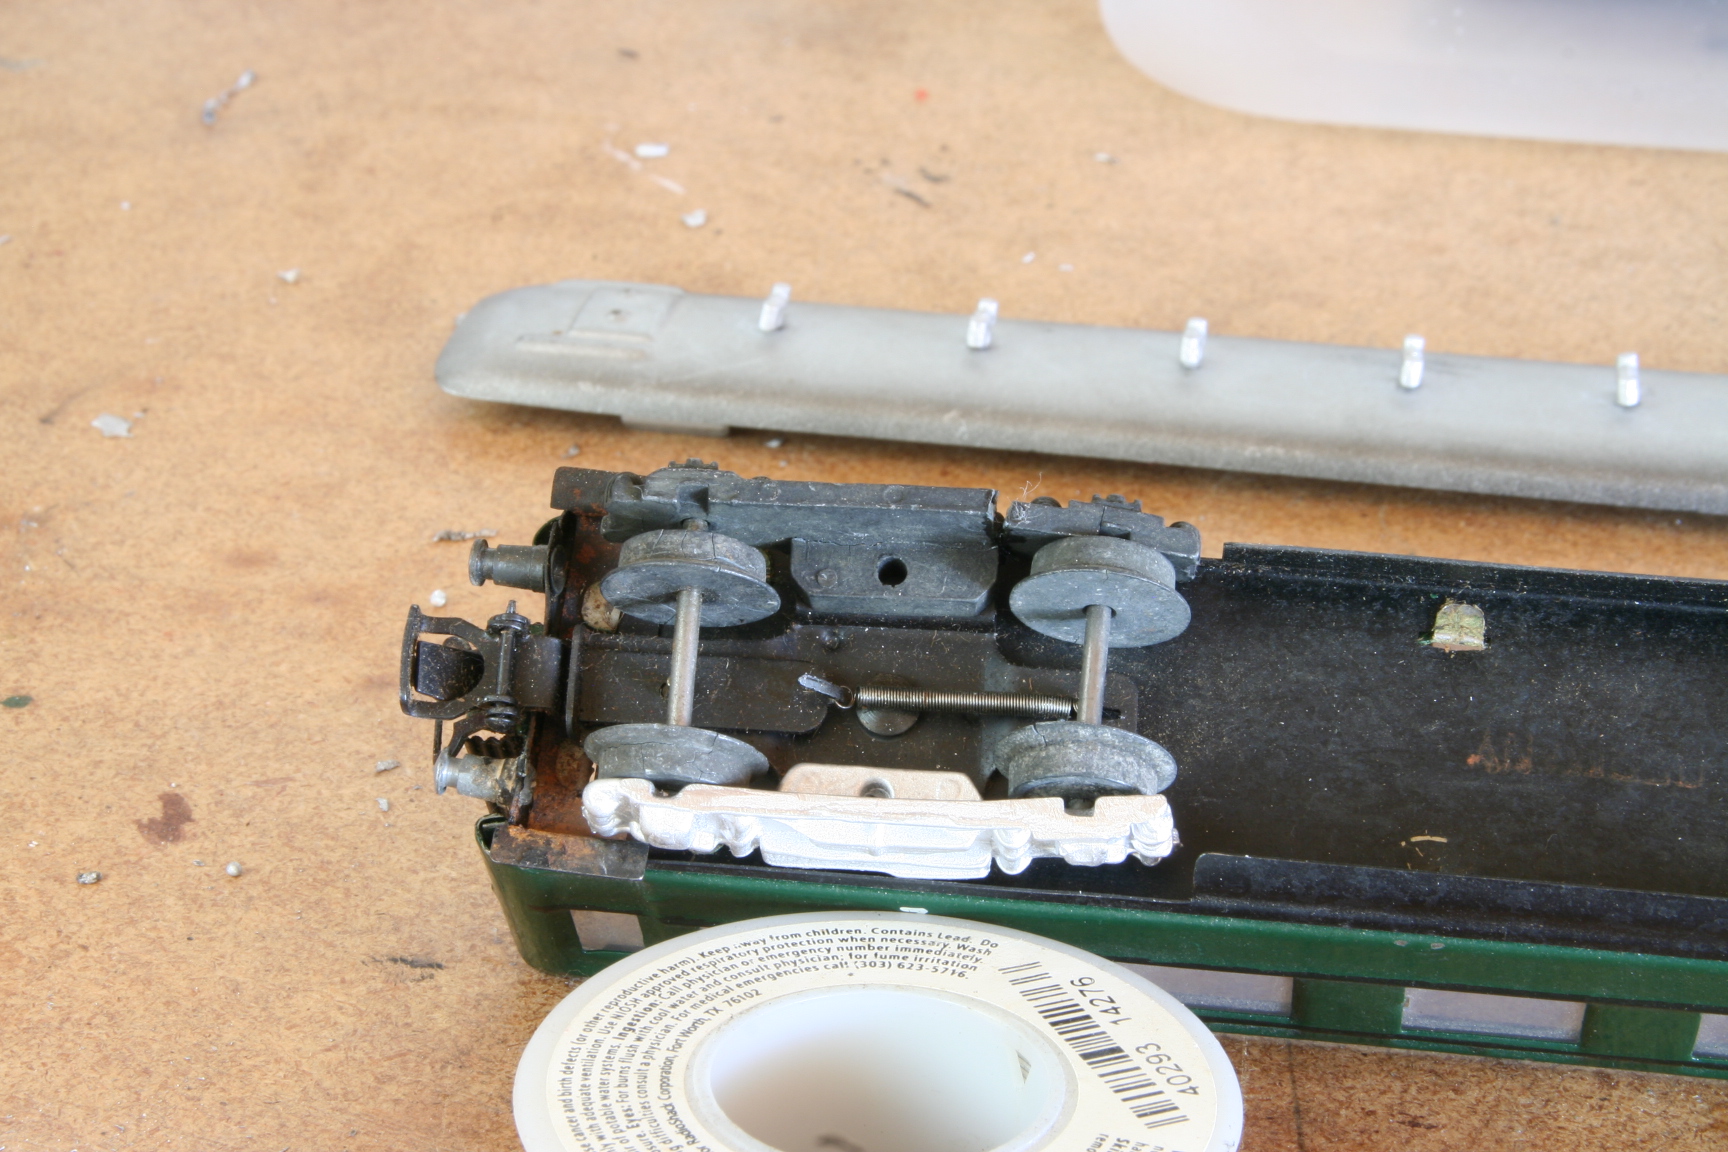
Line up the wheels and slightly bend the replica truck if needed to line up the wheels. The metal can bend slightly, as does any good healthy white metal but do not over-bend or the part will break. Here the other truck broke at the site of an old repair while installing the replica — zincpest makes original parts very brittle!

Hi Paul,
I just found your post about replacing coach vents and bogie side frames. Well done, very useful.
Thanks for posting this, to include the section on bogies. More importantly, thank you for making the ventilators available!